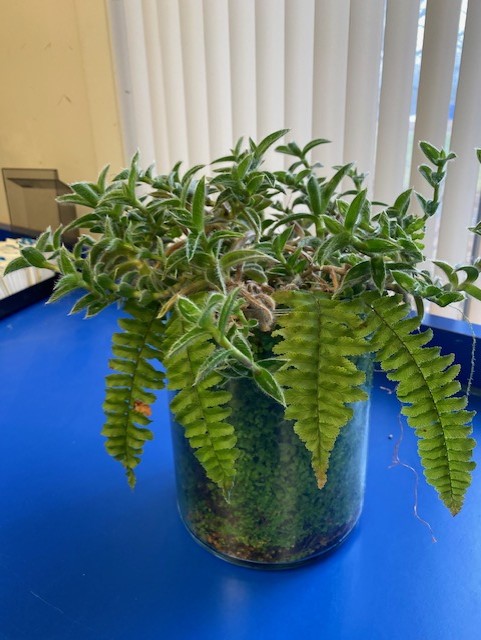
Although it really has not been a bad January weather wise, the dull, cold days find me searching for that bit of green. Thoughts turn to inside plants and sprucing them up a bit. Most houseplants respond well to some grooming and repotting. This is also a good time to take a hard look at any dish gardens and terrariums that were made several months or years ago and if the plants have outgrown their space allotment, the planter can be redone. Such was the case of my poor terrarium.
Houseplant popularity has been on the rise for several years now and many enjoy displaying their plants attractively in dish gardens and terrariums. Our modern day terrariums stem from a discovery by a London doctor, Nathanial Ward (1791-1868). He discovered healthy ferns growing in a glass jar he was using to study moths and caterpillars. The air inside the jar was cleaner than polluted London air and growing conditions could be controlled. The invention of these portable, glass containers, known as Wardian cases, meant that botanists and other scientists could transport plants from their foreign habitats back to Europe for study in a manner more conducive to their survival.
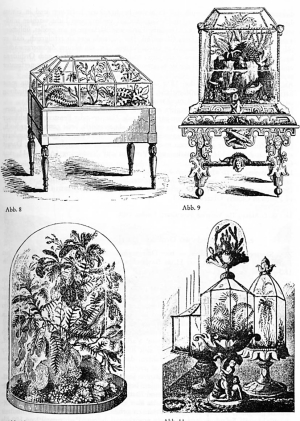
While the Wardian cases were closed containers, modern day terrariums can be either open or closed. Closed terrariums work best with plants that tolerate or thrive in relatively high humidity and enjoy indirect light. Care must be taken not to overwater and they should not be set in direct sunlight. I remember filling brandy sniffers with mosses, partridge berry, wintergreen, and small ferns during my high school days. After sealing with plastic wrap, these microcosms of the forest floor would share my desk space for months while I did my homework.
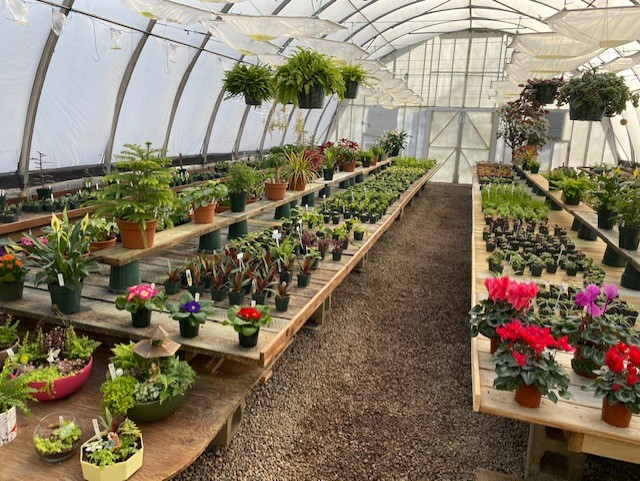
Enclosed terrariums are enchanting but lately I have just made open topped ones because it is easier to monitor moisture levels and humidity; lower humidity lessens the chances of disease. Also, if a plant or two sends its stems over the top, it’s a clear, distinct signal that my plants need attention. Usually I wait until winter to redo the terrarium as this is my favorite time to visit greenhouses for that glimpse of spring warmth amid winter’s chill. Last weekend I traveled to Stone Hedge Gardens in Charlton, MA. This is a small family run operation with a delightful selection of herbs and small houseplants, just perfect for terrariums and dish gardens. You can purchase ready-made dish gardens or individual plants to make your own creations. They also sell seasonal plants, silk floral designs, fairy garden accessories, and potting supplies.
For my terrarium makeover, I found an artillery fern, a goldfish plant, an alternanthera and truthfully, I forgot the name of the fourth plant. Try for plants that have similar light and moisture requirements or at least tolerance. Keep in mind that regardless of how cute they look when purchased, just about all plants will grow bigger. That’s what they are programmed to do. Once they have outgrown a pot or dish garden or terrarium, they need to be moved into larger living quarters. If that is not an option, cuttings can be taken, or they can simply be composted.

To make or remake your terrarium, first you need a glass container. Be as creative as you like. Look around the house for what containers could be repurposed or go explore a local antique shop for unique finds. I recycled an old acid bottle. Unlike potted plants, no drainage holes are necessary.
Then, gather supplies. Often small rocks or glass pebbles or even colored marbles are used to line the bottom inch or so. To keep the potting media from getting in between the rocks, some place a layer of sphagnum moss but since I did not have any right now, I use a circle cut out of leftover row cover material and placed that over the rocks.
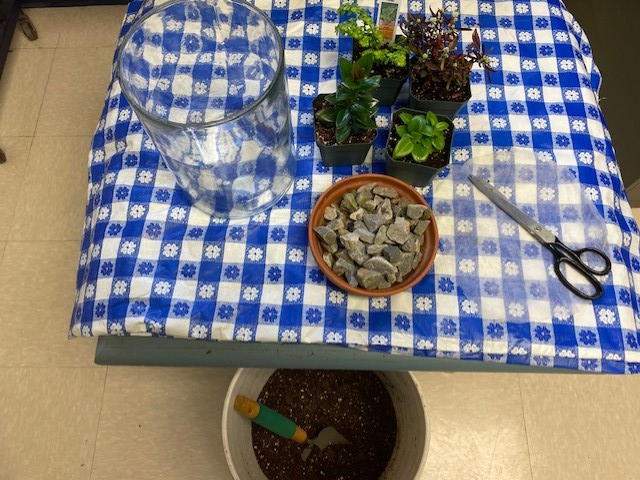
There are plenty of recipes for terrarium potting mixes, but I just find Pro-Mix works fine. I moisten it and mix in a tablespoon of activated charcoal before placing a shallow layer over the row cover. The charcoal is supposed to retard growth of unwanted microbes but I have made terrariums without it and not had problems.
Next carefully remove the plants from their pots and place on the potting mix, filling around the sides with extra mix and gently firming in place. Plants can then be watered moderately. It is easy to apply too much and even though the excess will drain into the rocks below, too much water makes plant roots susceptible to root rot. A mister can be used to remove any potting soil from the leaves of your plants. I usually only water my terrarium twice a month but I do check it more often in hot weather or when the heat is constantly running. Mine sits in a north window and gets turned on Fridays so the plants will not reach for the light.
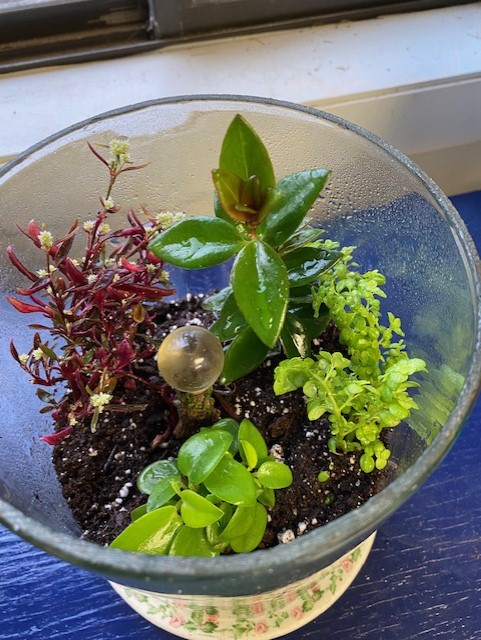
Once the planting and watering is finished, add any touches that tickle your fancy. I set in a fairy size gazing globe. Enjoy your creation and once it overgrows its bounds, get some new plants and start anew.
Dawn P.

