Horticultural Advice


Climbing and rambling roses are a beautiful addition to any garden, adding height and depth to your outdoor space. However, these types of roses require proper training and tying to ensure that they grow in the desired direction, produce the most blooms and don’t become tangled or unruly.  Here’s a guide on how to tie climbing and rambling roses to get the best results. 

MATERIALS NEEDED:

  • Twine or soft plant ties
  • Pruning shears
  • Garden glove
  • Support wire and tools to secure to a structure
Gloves, wire,  pruning shears and twine displayed on a table.
Photo by Marie Woodward

1- Prepare you Roses

Prune your climbing and rambling roses to remove any dead or diseased wood and to encourage healthy growth.  Cut back any wild or overly long shoots to create a manageable framework for tying.

2- Attach Straining Wires

If you’re training your roses against a wall or fence, attach horizontal strain wires to the structure, spacing them about 12-18 inches apart vertically and 5 feet apart horizontally.   If you have a vinyl fence you can use vinyl safe hooks and secure the wire with a turnbuckle vertically, spacing them about two feet apart to avoid drilling holes in the vinyl material. (Vinyl fences are hollow and won’t readily hold a screw or nail). 

Roses being trellised on a fence with wire
Photo by Marie Woodward

3- Tie the Canes

Using twine or soft plant ties, attach the rose canes to the support structure at regular intervals, starting about 1.5 feet from the ground. Tie them securely but not too tightly. You want to allow room for the canes to grow and expand.

Rose canes trained to the fence.
Photo by Marie Woodward

4- Train the Roses

As the roses grow, continue to tie the new shoots to the support structure, guiding them in the desired direction.  For climbing roses, encourage lateral growth by tying the shoots horizontally or at a 45- degree angle.  For rambling roses, allow the shoots to grow more freely, creating a looser,  more natural look.

Roses in bloom along a fence line.
Photo by Marie Woodward

5- Maintain Your Roses

Regularly check your roses and adjust the ties as needed, ensuring that they remain secure but not too tight.  Prune any wild or unruly shoots and remove any dead or diseased wood to keep your roses healthy and under control.

By following these steps and regularly maintaining your climbing and rambling roses, you’ll create a stunning vertical display that adds beauty and depth to your garden. 

By Marie Woodward, UConn Home & Garden Education Center

As the winter weather intensifies this season and outdoor gardening tasks come to a close, you may be wanting to turn your attention indoors, to where you can care for plants in the warmth of your own home. Raising a bonsai tree is the perfect indoor hobby for anyone who enjoys connecting with nature or creative expression, and a great way to exercise your green thumb during the winter months. Since starting my first bonsai tree about a year ago, I have come to love the patience and calmness that this activity brings me. I hope to pass along some of the gardening tips I’ve learned, as well as motivation for anyone else interested in beginning a bonsai journey of their own.

So, what exactly is bonsai gardening? A bonsai plant can be any species of tree which is grown in a shallow container, and shaped to produce the miniature version of a tree in nature. Bonsai is a Japanese art form which was derived from ancient Chinese practices and influenced by Buddhist philosophy. The practice of bonsai is enjoyed by gardeners all over the world today, as a challenge to one’s skills and artistry and a symbol of peace and balance in nature. While some professionals take years to master the practice, anyone can get started as a beginner in bonsai and experiment with what the art form means to you.

Some impressive examples of bonsai art. Images from Wikimedia Commons.

For beginners looking to get started quickly with bonsai, buying nursery stock from a local nursery or bonsai shop is a simple way to achieve a successful tree. These young plants can be grown and shaped right away to start practicing with bonsai care. The professionals at a nursery or bonsai shop can also be a great resource for tips and advice to help beginners. Bonsai trees come in many different varieties, so it is important to choose which species is best for you and your environment. If you’re planning to grow a bonsai indoors, look for a sub-tropical tree species such as Ficus or Jade. For outdoor bonsai, some popular species are Juniper bonsai and Chinese elm.

An equally important decision to start your bonsai is selecting the right pot for planting. Traditional bonsai pots are wide and shallow, with holes for drainage and wiring to keep the tree in place. They are commonly made out of ceramic and come in a variety of colors and designs to suit your aesthetic. Bonsai trees also require the right soil mix for proper health and moisture. Look for a soil made for bonsai with the right mix of akadama, pumice, and lava rock for your tree species.

Now that you know how to start growing your own bonsai tree, let’s get into some basic plant care tips to keep in mind when practicing the art of bonsai. The first and most important step in bonsai care is watering. It’s best to water your tree as needed when you notice the soil is slightly dry, rather than sticking to a strict schedule. I like to water my miniature jade bonsai by submerging it in a container filled with water until the roots are fully soaked, then letting the excess water drain from the pot.

Another helpful tip to keep your bonsai healthy is fertilizing the soil regularly. Because bonsai trees are confined to small pots, it is important to replenish those soil nutrients for a happy bonsai tree. I use a fertilizer specific to tropical bonsai which can be found at a bonsai nursery, and apply a spoonful around the edges of the pot about once a month before watering. Be sure to follow the instructions listed on your bonsai fertilizer for proper use.

A crucial element to the practice of bonsai is pruning and shaping your tree to achieve that signature bonsai look. The way you choose to prune your tree can vary depending on the species and desired shape, but it may take some time to experiment with which techniques you like best. To me, the learning process of pruning is very therapeutic and one of the most fun aspects to growing a bonsai. There are plenty of online resources you can go to for help and inspiration in establishing your bonsai design. In general, here are some guidelines to follow when deciding how to shape your tree:

● A good time to prune your bonsai is about every 2 months when new growth is forming

● Use your fingers to pinch off unwanted leaves from your tree

● Use sharp bonsai scissors to trim or remove certain branches, including those that are too long, dead, crossing, growing upwards, or blocking the view of your tree’s design

● Make your branch cuts close to the main stem/trunk to help incision wounds heal quickly, but be careful to not damage the trunk

● Removing no more than 1/3 of your plant’s foliage will keep it healthy while promoting growth

● Consider the use of bonsai wiring to train and shape tree branches to fit your design. This step should be done with care to avoid damaging your bonsai.

Growing an indoor bonsai tree during the wintertime is a perfect way to bring life and color to your home, and with a bit of patience and care I hope you too will find this commitment to be very rewarding!

Laurel Humphrey, UConn Plant Diagnostic Lab

Do you have an uneven yard or hills that look like the Himalayas? If this sounds like your landscape, slope is important to know when designing or managing a landscape.

Safety and erosion control are the primary reasons to know the angle or degree of a slope in a yard. Steep slopes can cause a loss of traction and stability for riding lawn mowers, which can result in it tipping over and harming the operator. Serious injury and even death can happen, so it’s not a situation to take lightly. Most manufacturers have recommended guidelines for best practices when using a riding lawn mower on slopes and should be closely followed. Erosion is not only unsightly, but it can also be dangerous. Topsoil, with all of its complex structure, washes away, along with contaminants such as fertilizer, pesticides and petroleum products. It can erode downhill, which could end up in our water supply. That’s why it’s important to utilize the proper erosion control products on slopes.

There are many ways to control erosion on slopes. Native plants, ornamental grasses, groundcovers and some shrubs help prevent erosion. But depending on the steepness of the slope, plants may need a little help from other means.  Retaining walls and terrace gardens are popular but they can be cost prohibitive.   There are products available on the market that can be installed by savvy DIYer. The caveat is knowing the angle of the slope to get the right product for the job. 

Slope, also known as grade, shows how much change there is in elevation over a given distance.  Think of it as a staircase. The “rise” is the elevation of one step to the next.  “Run” is the distance from the edge of the rise to the next rise:

Smart phones offer apps that can measure the angle of a slope but with a few simple tools a slope can easily be measured without any technology.  All you need is a yardstick or 2’x4’, (if you’re using a 2×4, make sure you have a measurement of it’s length),  a carpenter’s level and a measuring tape: 

To start, place the 2×4 board along the slope of the hill. Then, place the level on top of the board and lift the lower end and bring it up to a horizontal position. Next, measure the plumb line (vertical distance from the ground) with the tape measure from the raised end of the board to the ground.

Using the formula below, calculate the slope:

Below is a worksheet that we’ve created for you to use if you want to try this at home! If you have a larger yard and to get the most accurate measure, calculate three measurements of slope from three different places on the hill and calculate the average.

 It’s as simple that. No need for special tools or a Ph.D in quantum mechanics to get the slope of a hill. Just a few basic tools and a simple formula to get the job done.  Of course, we are always ready to help if you have any questions on slope, erosion or any other gardening questions. 

By Marie Woodward & Heather Zidack

With Father’s Day in mind, many of us would like to give a dad a break by helping out with some outdoor chores while he covers the grill. Keep reading for convenient tips so that dads, granddads, pet dads, plant dads, and dad-like figures everywhere can rest easy – you’ve got this!

  1. Mow the lawn on the longest setting and don’t mow when wet.

For some, mowing the lawn can be a satisfying chore while others can’t stand it. Whichever camp you fall in, odds are that you want to keep your lawn looking its best! A great way to keep a healthy-looking lawn is to keep it at a stable, healthy height by mowing at the longest setting of the mower.

This tip may seem counterintuitive for some. “If I mow on the longest setting, won’t I just need to mow again sooner?” My answer to this thought is “Yes, but isn’t it better to mow a healthy lawn more frequently than an unhealthy lawn less often?”. Grass blades need enough surface area to photosynthesize, respirate and thrive. A good rule of thumb is to cut off no more than a third of the height of the blade at a time. Unless you’re maintaining putting greens and fairways, there isn’t really an advantage to mowing your lawn at a short setting. It will only be more susceptible to drought-related brown patches, weed pressure, and disease.

Speaking of lawn diseases, those caused by fungi are more easily spread to new areas when the lawn is wet, so it’s better to only mow dry lawns. Another disadvantage of mowing a wet lawn? The grass clippings will clump together and stick to the mower and uncut sections of lawn. This will result in a more uneven cut, even when diseases aren’t an issue.

  1. Water plants (including lawns!) in the early morning hours when needed.

From the last paragraph, you probably inferred that the organisms that cause plant diseases typically prefer wet environments. This is nearly always the case! Fungi and bacteria thrive in wet conditions and may even require a film of water on a leaf surface to infect it and cause those leaf spots, blight, and cankers that we all dread.

While we can’t control the weather, a great way to reduce the amount of time that leaves remain wet after watering is to provide water at a time of day when the water will dry quickly but won’t heat up and scald the leaves. The best time to water plants with a sprinkler system is in the early morning. Watering in the evening runs the risk of plants remaining wet all night when they don’t need to. Water midday and there’s a chance, particularly in the hot summer months, that the water will cause sunscald on the leaves before it dries off. A way to avoid this and water any time you like? Aim your water source at the base of the plant and avoid wetting the leaves altogether.

  1. Use the leaf blower to clean the garage before putting it away.

Recently I had a friend visit and he had to get something from the garage. He remarked how clean it was. I said it only looks tidy because there wasn’t a car in it, but he countered, “no we keep our garage tidy too, but we can’t prevent dirt, leaves and spiders from constantly getting in”.  My trick to keeping the leaves, spiders and dirt out? I use the leaf blower to quickly blow out my garage every time I mow the lawn or rake leaves. Because we have a one-car garage, this usually takes me less than five minutes. Doing this frequently (basically every time I do yard work), even when the garage doesn’t seem dirty, keeps it effortlessly spick and span. Don’t have a leaf blower? A broom works just as well. The real trick is keeping to a schedule and cleaning before the garage gets “dirty” in the first place.

  1. In summer, mark trees that need to be cut down with bright string or paint to make identifying them easier in winter.

Cutting down trees isn’t exactly work most of us enjoy doing often, which is why we usually contract the work out to an arborist (and should definitely do so if the trees are large, unsafe for a novice to cut down, or are at risk of falling on something important like a neighbor’s fence). It’s summer and you notice a tree (or five) that should really be cut down. Maybe the tree is sick or in a place where it shouldn’t be, maybe it’s only five feet tall and has a trunk with a diameter of a toilet paper roll – no need to call an arborist. Sometimes when we face little trees that need cutting down, we turn to our dads. Dads always have a chainsaw handy, right?

Fast forward six months and Dad is visiting for Christmas. Winter is the best time to cut down trees – everything is dormant and there are hardly any leaves to get in the way. You tell him “Thanks for bringing your chainsaw, Dad! I just need to cut down the two little trees out back next to the hydrangeas…”, immediately realizing that the hydrangeas will be hard to identify without their leaves and you (and your dad) don’t want to accidentally cut those down instead.

To save you both some time, trouble and frustration, tag the trees you want to cut well ahead of time with some brightly-colored tape or string. Even if you plan to cut the trees only a week later, it will be helpful to remember which trees needed to be cut, especially if you have several to get through.

These trees are marked for cutting with bright pink ties – this will make discerning them from trees that you want to keep a cinch any time of year!
  1. Remember to wear safety equipment and maintain your tools!

Finally, don’t forget to be safe when performing outdoor chores, especially ones you aren’t familiar with. Wear long sleeves, pants, and closed-toe shoes. Wear safety goggles if projectiles cold be a factor (e.g., borrowing that chainsaw). Wear sunscreen and tick/mosquito repellant as appropriate. Always read the labels of pesticides, cleaning products, and fertilizers. Store and apply them as instructed.

Also be sure to take good care of your tools! Dad wouldn’t want you returning something worse for wear, and few things impress dads more than an organized and well-kept selection of tools! Remember to run water through your power washer for a minute or so before turning it on. Remember to check the cord of your weed-whacker/edger/line trimmer before starting work to see if it needs to be replaced. If you haven’t used a power tool such as a mower, chainsaw, or similar in a while, be sure to check and see if it needs to be oiled before running it. Better to be safe than sorry! We don’t want to ruin Dad’s relaxation with a broken tool or trip to the emergency room.  

Until next time,

Nick Goltz, DPM (son, uncle, plant and pet dad)

Just as the addition of a colorful bow dresses up a gift, both mulch and perennial ground covers can add the finishing touch to garden beds. When used to cover bare soil, both mulch and living ground covers discourage weeds, control soil erosion, and stabilize soil temperature and moisture. The advantage of one over the other comes when considering that mulch must be reapplied regularly, and ground covers, once established, reproduce themselves and need only periodic attention to thin or control some that wander. Often, it’s the final vision the gardener has for the landscape that  will determine which to use.

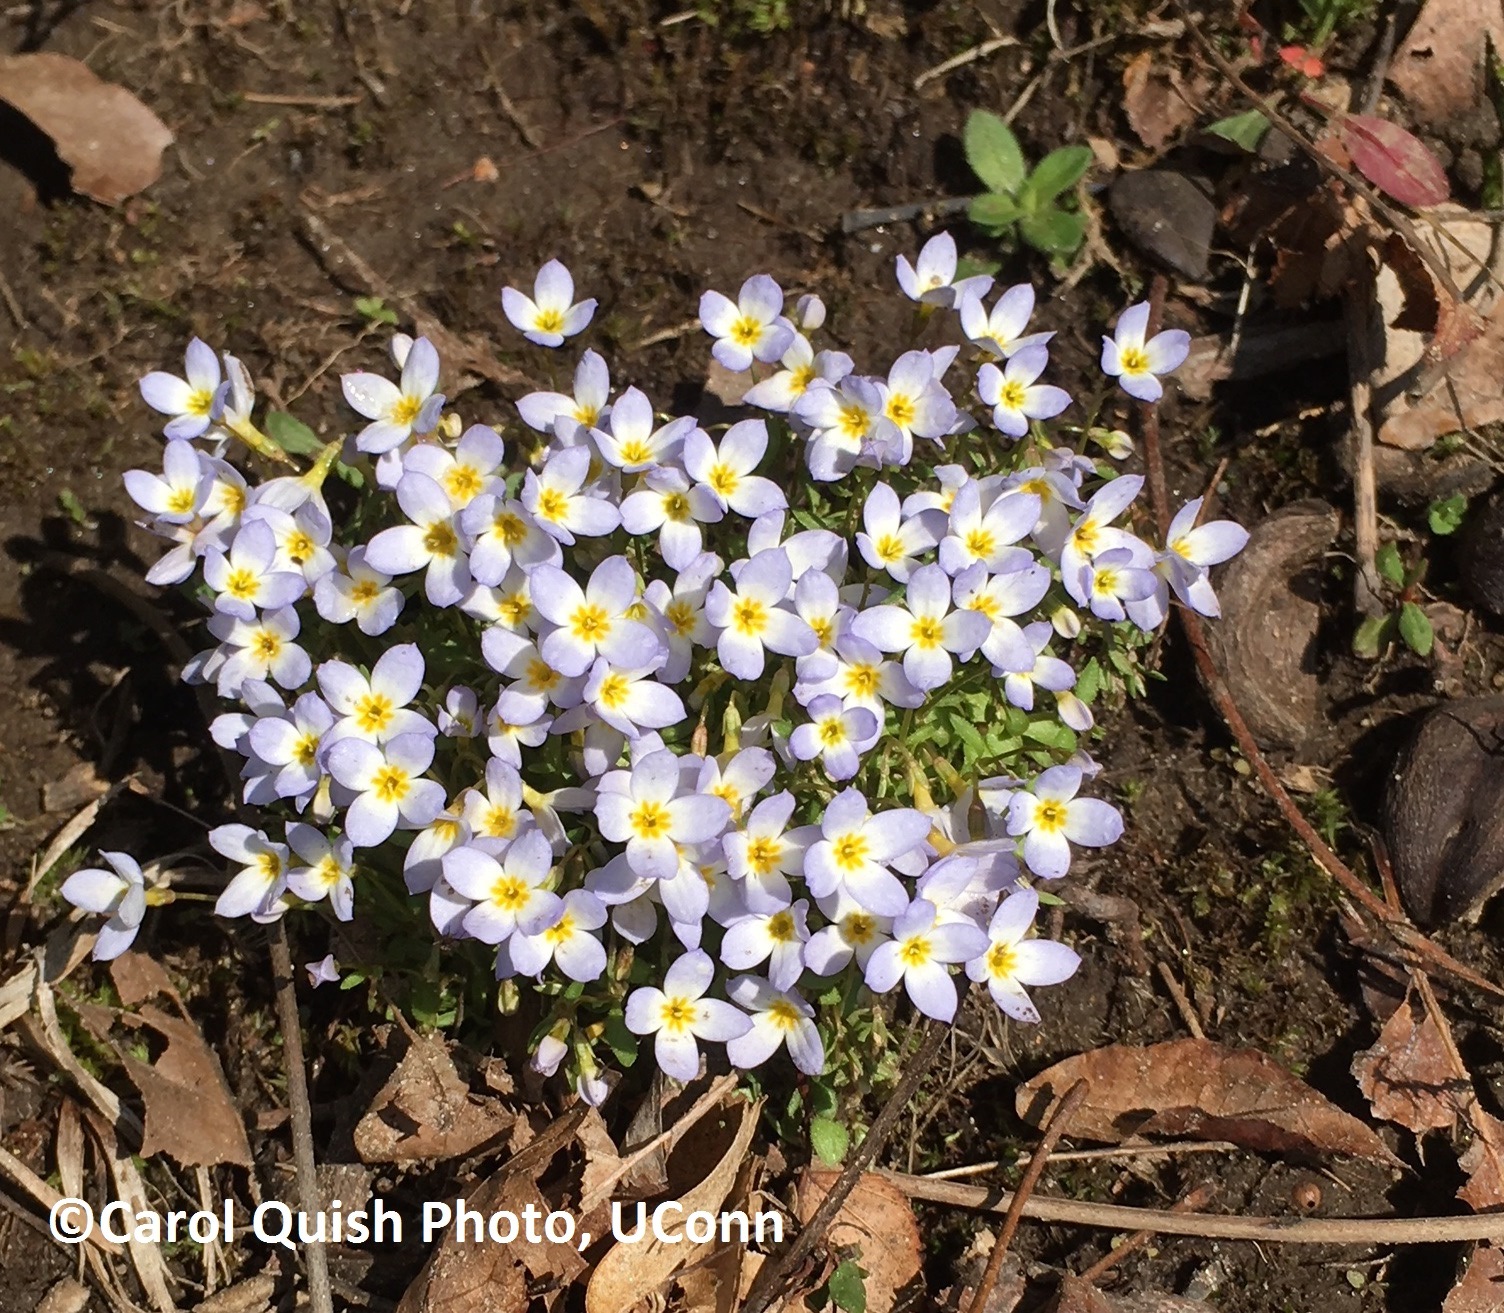
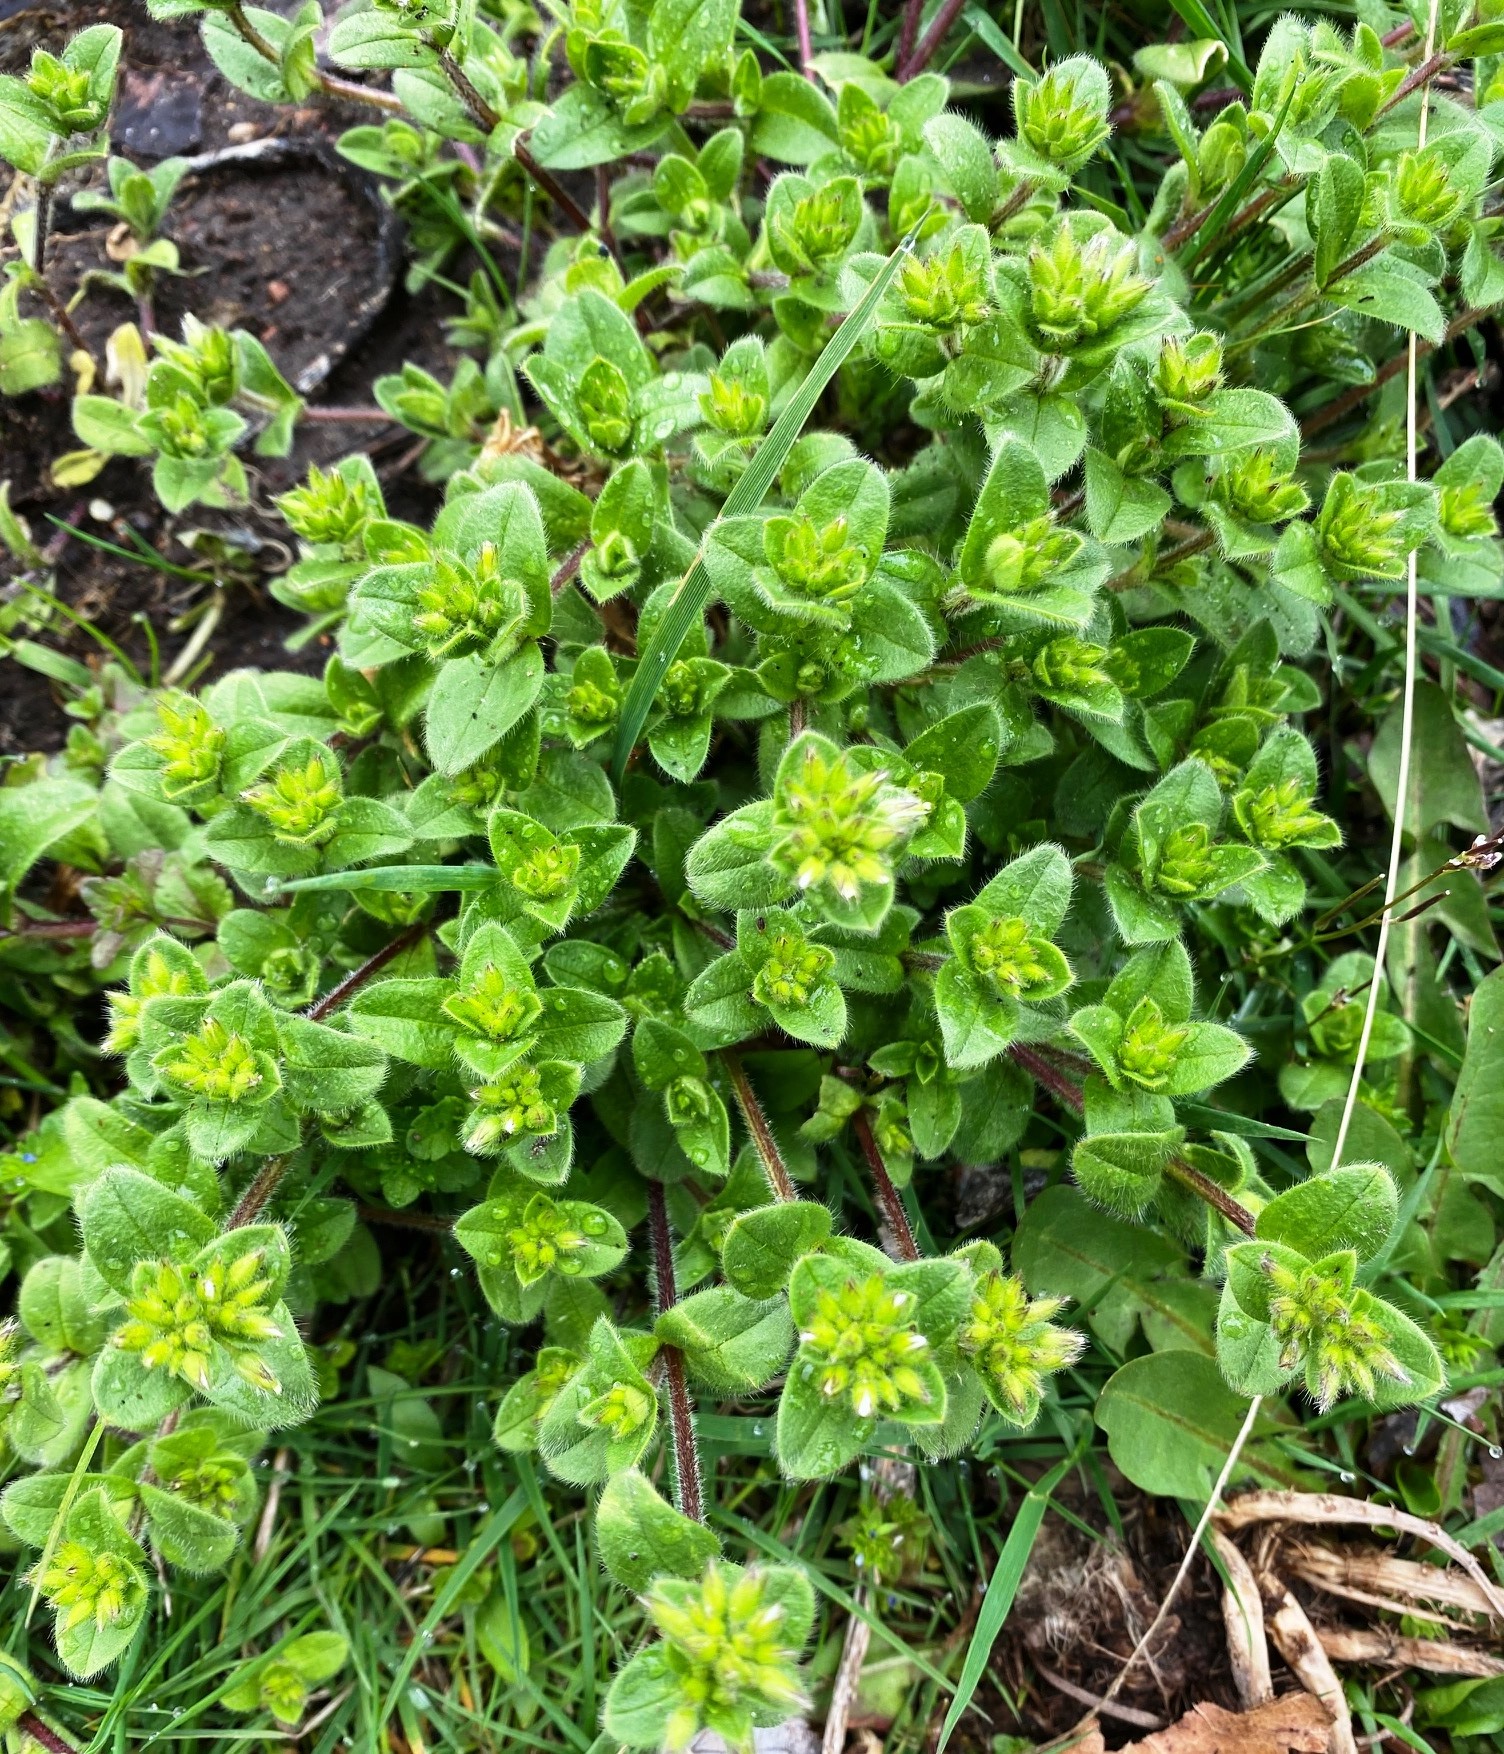
Ground cover types range from slow growers to ones that are true invasives. Slow growers include several varieties of shade tolerant phlox such as the creeping phlox (Phlox stolinifera), and the woodland phlox (Phlox divaricata).  The moss phlox (Phlox subulata) enjoys sunny spots as does candytuft (Iberis sempervirens).

1610753-moss-phlox-bugwood

Moss phlox-bugwood.org photo

Candytuft John Ruler University of Georgia Bugwood.org

Candytuft photo by John Ruler University of Georgia Bugwood.org

If you are an impatient gardener, moderately speedy popular plants include sweet woodruff (Galium odoratum), spotted dead nettle (Lamium maculatum), wild ginger (Asarum canadense), and Chinese astilbe (Astilbe chinensis var. pumila).  Each of these plants prefers shady areas for best growth, and they generally do well in moderately moist, fertile soil.

Other moderate creepers that do well in part-shade to sunny locations include bugleweed (Ajuga reptens), low growing sedum, such as Sedum rupestra, periwinkle/myrtle (Vinca minor), and creeping thyme (Thymus praecox). These plants prefer moderately moist soil except for the thyme, which prefers a somewhat dry soil.

IMG_0567 ajuga

Ajuga

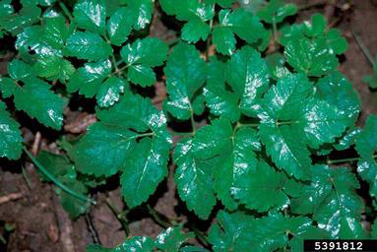
This group of plants also includes the familiar pachysandra (Pachysandra terminalis). It grows by rhizomes that form stems that spread underground, producing roots that send up new plants. In ideal growing conditions it can be aggressive but can be controlled by removing the roaming underground rooted stems by hand.  It grows in partial and full shade as well as partial sun, but full sun causes poor growth. It needs a moist, well-drained soil and does not tolerate drought.

IMG_0593 pachysandra under elderberry

Pachysandra under trees and shrubs

A group of plants that should be avoided in home gardens includes those that are very aggressive growers. One in this group, goutweed/bishop’s weed (Aegopodium podagraria), is on the Connecticut Invasive Plant List. It is said to need a mechanical barrier surrounding it to prevent it from wandering beyond its intended space.

goutweed, varigated

Variegated goutweed

green_leaf goutweed (1)

Goutweed- green leaves

A plant of similar aggressive habit, gooseneck loosestrife (Lysimachia clethroides), required hours of work to remove a mature patch –  little volunteers are still popping up weeks later! While attractive when massed in open spaces, it is so aggressive that “Perennial Gardens” author Allan Armitage wrote that the right place for this plant “happens to be an island bed surrounded by concrete.”  Two plants also bearing the loosestrife name, garden yellow loosestrife (Lysmachia vulgaris), and purple loosestrife (Lythrum salicaria,), are included on the Connecticut Invasive Plant List and cannot be sold in the state.

Sometimes mulch is the preferred ground cover. If a perennial bed has plants with attractive foliage or flowers that deserve attention, or where it would be hard to provide needed moisture, mulch can be a good option.

IMG_0587 mulch cover 5

Natural cedar mulch

Mulch can be organic, from shredded tree products, straw, salt march hay, dried grass clippings, compost, or pine needles. To be effective at slowing weed growth, helping retain soil moisture and moderating soil temperature, organic mulch must be replaced regularly.  However, it is not necessary to remove older mulch before adding a new layer. Often older mulch develops a crust-like surface so it should be loosened with a rake or other pronged tool so water will penetrate the surface. Some prefer using a color-treated mulch, which is not harmful to plants since the color comes from vegetable dyes.

Some problems that can come from using organic mulch include making the layer thicker than 3 inches, which prevents water and oxygen from penetrating the soil, and putting the mulch too close to the base of shrubs and trees, which encourages snails, slugs, burrowing animals and wood boring insects to settle in.

Inorganic mulch includes crushed stone, gravel, black plastic or landscape fabric. Depending on the choice of material, inorganic mulches have various advantages and disadvantages. Some allow water and oxygen to penetrate the barrier and keep weeds from breaking through. Some last for many years but some break down when exposed to sunlight and don’t allow water and oxygen to penetrate. Some are inexpensive, and others are expensive.  Budget can be a deciding factor.

When it comes to choosing between use of a living ground cover or a type of mulch, the final decision depends on the reason for using the ground cover, how much energy the gardener has to maintain the ground cover and even what image the gardener wants to project for the garden beds. In the end, the choice should consider how the ground cover will benefit the plants that are growing in the garden.

Jean Laughman, UConn Home and Garden Education Center

Lilac in snow 3

These are some crazy times lately. Snow in the second week of May just adds to the disruptions in our lives right now. Folks are looking to their yard and gardens to bring stability to the upheaval in their lives, and snow and cold weather does not ease the mind. However, mother nature has a way of healing the plants and in doing so, shows us we will heal, too.

Some blossoms will sustain damage without the entire plant being lost. Some plants will succumb to the freeze, but these plants are ones that grow naturally and natively in much warmer areas which would not experience snow or freezing weather. If tomatoes or marigolds were planted out in the garden, they most likely were killed from the freeze. See packets and transplant labels state to wait to plant after all danger of frost has passed. For us in Connecticut, May 15th is the average last frost date. I err on the side of caution, waiting until Memorial Day when the soil as warmed considerably before planting cucumbers, peppers, petunias, squash and tomatoes. Putting these plants into cold soil will shock and stunt them for the rest of the growing season.

Perennial plants in our area are like old friends, returning home after a long absence. The familiarity of finding them in walk abouts, makes the world seem normal. Even some stalwart rhubarb laden with snow gives me hope we will weather  our storms. Rhubarb is a hardy perennial vegetable, providing pies and baked goods from its leaf stalk. Don’t eat the leaves as they contain a high level of oxalates the body doesn’t handle well. Better to use the leaves in the compost or lay them on the ground in the vegetable garden to keep the weeds down. They cover a lot of area.

Rhubarb in snow
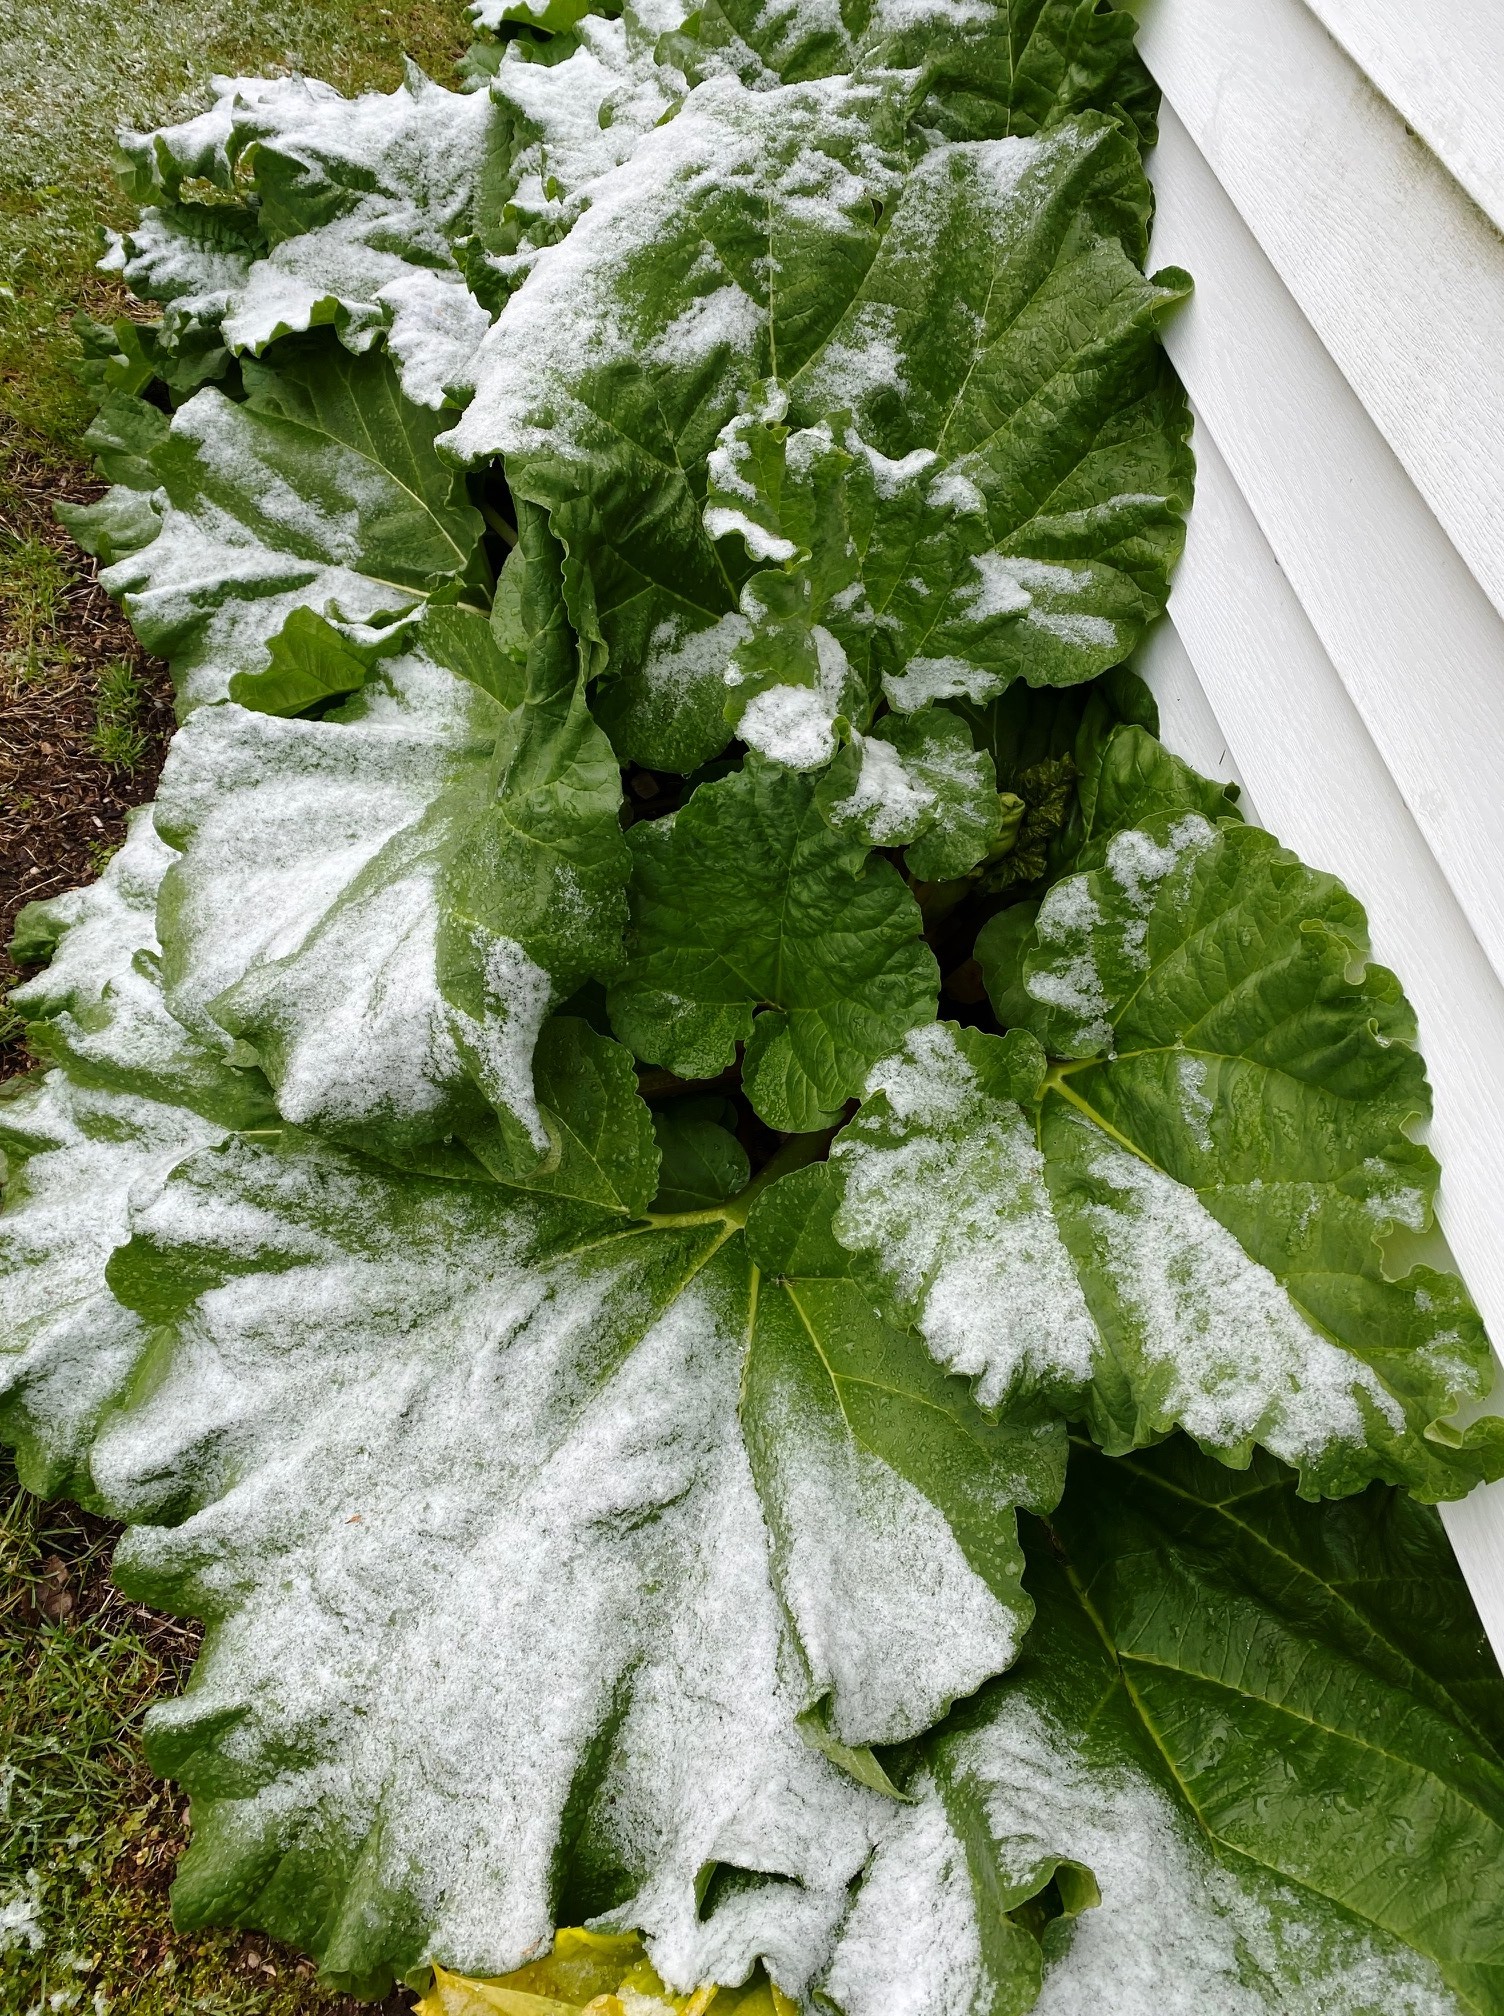
Earlier in the week, I removed a flowering stalk from the rhubarb plant, to conserve the plant’s energy by not producing seed. Removal of the flower helps the clump grow bigger and get stronger.

rhubarb flower stalk

Cut the rhubarb flower stalk at the base of the plant and compost it or use it in a flower arrangement.

Lilacs are a long-lived, woody shrub capable of with-standing freezes and snow. The flower buds were encased with ice and snow, but should bounce right back; only time will tell. The plant itself can live for over 100 years!

Lilac in snow one bud open

Magnolia is  another woody tree that lives a long time, but its flowers are often damaged by frost and cold weather. The photo below was taken before the snow  but after a frost, of Magnolia x soulangeana, showing the damage to the open blossom and the newly opened flower that was in bud at the time of the frost. After today’s snow, the petals have all fallen.Magnolia flower and cold damaged one

Flowering quince is a hardy shrub tolerant of late freezes. Its scarlet flowers didn’t blink with a covering of snow, shaking them off to shine brightly by noon once the sun came out. Each blossom should be appreciated up close for its rose like shape. Unfortunately, it is a pretty scraggly and unkempt specimen the rest of the year. She reminds of a  disheveled  and gangly teenage boy that cleans up nicely for prom, but only once a year.

quince flowering

Clove current is blooming, and before the snow released its spice scented aroma to soft wind. Hopefully, once the warmer weather returns so will the shrub’s offering to those in backyard.


Clove current flower

I spoke of plants returning like old friends, expecting nothing from you except your company. They don’t try to change you or bring you around to around to their new found way of processing the world. Plants would never talk politics with you. They are just happy with your company. I think people could take a lesson or two from plants. Even weeds are consistently reappearing, each in their own time bringing a sense of comfortable familiarity. Chickweed has arrived, budded up with blossoms open in sunnier spots.

Chickweed

Bedstraw aka catchweed is entwining the old-fashioned shrub roses rescued from a 1600’s cemetery on Cape Cod. The paving truck was laying an asphalt walkway right over the rambling mass of thorny branches. I had to at least save a few in the way of its destructive path. The bedstraw always appears only in these bushes, making me think they must be old friends, too. I pull a few but don’t have the heart to remove them all, plus I like their airy foliage mixing with the deep pink roses once they bloom in June.

bedstraw at rose base

Milkweed shoots are up, promising a food source for many caterpillars and other insects. The monarch butterfly used milkweed species exclusively on which to lay eggs and for its larva. Common milkweed can become weedy as it spreads via seed and root, enlarging its colony each year.

Milkweed shoots


I hope you find the return of old friends in the garden and maybe add a few new ones this season.

-Carol Quish

Although winter officially started only a few days ago, the wet, rainy, snowy, and icy weather we’ve had over the past several weeks has put me into a bit of a funk. Don’t get me wrong: I am a Chicago native and have lived in New England for five years. I am well accustomed to a seemingly endless winter. But I think we can all agree that during a period of freezing, thawing, and mixed precipitation, the New England landscape leaves something to be imagined. Mud and dried grass muck up yards, bare deciduous trees leave our forests looking sparse, and the sky often remains one shade of gray. With only a few colors in the New England winter color wheel, I find myself dreaming of something decidedly more…green.

winter tree upright

Photo by Abby Beissinger

To help get myself out of this funk, I find myself thinking about planning the upcoming season’s garden. Usually December is too soon for me to start, but a recent post by University of Rhode Island Extension got me excited to plan early this year. In collaboration with Ocean State Job Lot, Burpee, and URI Master Gardeners, URI receives an annual donation of expired and unsold seed packs that they offer up to individuals, non-profits, schools, and more, to those living in New England, New York, New Jersey, and Pennsylvania.

URI Free Seeds

The stock of free seeds include a large variety of herbs, flowers, and vegetables—you just pay the cost of shipping ($0.25 per seed packet). To learn more about the free seed program, click here, and for the order form click here. All orders must be received by January 13th, 2020, and URI Master Gardeners will fill orders on a first-come, first-served basis.

A few things to consider once you receive your seeds:

  1. While early garden planning is fun, planting your seeds too early will leave your seedlings leggy and weak. They will be unlikely to rebound and recover when the time comes to plant seedlings outside. Pay close attention to your seed packet on when it recommends starting seeds inside based on your location’s last frost. You may find this planting calendar handy when selecting the date to start seeds inside.

Seed Packet

Photo adapted from Gardenerspath.com

  1. Since you won’t be planting your seeds for at least a few months, store them in an airtight container in the refrigerator to increase their shelf life. Check out this Lady Bug article for more seed storage tips.

seed jar

Photo by Tenth Acre Farm

  1. When it is time to seed, select trays or containers that are 2-3 inches deep and have a drainage hole to allow for excess water to move through. If you plan to reuse containers from a previous season, make sure to sanitize them in a 1:10 dilute bleach solution to prevent the spread of disease causing agents (pathogens).

seed tray

Photo by DIY.com

  1. Select a soil-less media made for seed starting—not your average potting mix or soil from your backyard. The seed starting mix usually contains a combination of peat moss, vermiculite, and some fertilizers that provide ideal conditions for seed germination.


  1. Without adequate light, robust seedlings can be difficult to produce. Supplemental light is often needed. Refer to this fact sheet for more indoor seed growing tips and suggestions for lighting setups.

lighting setup

Photo by Thea & Bob Fry


Hopefully these free seeds will perk up those winter blues, and have you thinking about planning your 2020 garden early too.


–Abby Beissinger

cobrahead weeder and red gloves

It is harvest time in the vegetable garden, doing end of season gathering of squash this week. The vines of the honeynut butternut and spaghetti squash have all withered and dried signaling the squashes are ready to be picked. Once the color deepens and skins toughen the fruit should be cut from the vines and cleaned up. I wash them in a slight bleach solution to remove any fungi and bacteria that might cause rot once they are placed in storage in my cool hatchway to the basement where they will not freeze. Wrapping each in a sheet of newspaper to keep them from touching is an added measure to help retard decomposition.

Squash harvest 2019

Back in the garden I pulled all of the vines to add to the compost or burn any diseased plant remains. Insect problems from this year might over winter in the plant debris so cleaning up the beds is recommended. While I am there, I scrape the soil with my 20 year old CobraHead hand-weeder, my favorite tool. When held horizontally it only disturbs the top inch or so of soil while I remove any weeds without bringing up many weed seeds from deeper in the soil which might germinate next year. Even though I am only disturbing shallow depths of the ground, some insects come crawling, wiggling and moving out of what they thought was a safe place to spend the winter. It is amazing to sit on my little garden stool and watch the life emerge from what at first glance, appears to be lifeless or dormant.

cobrahead weeder

First to emerge from the soil was a crazy snake worm, (Amynthas agrestis). They are an invasive species from distant lands of Korea and Japan, and do not belong in my New England garden. They move in an ‘S’ pattern and rather quickly, but they are no match for my fast, gloved hand to grab and toss into a repurposed ricotta container rescued from the recycle bin to live another life as a worm container of death. A few more swipes of the CobraHead and several more make an appearance only to be promptly deposited to the dreaded, dry plastic vessel too tall from them to slither out.

snakeworms 2

Normally worms are considered a beneficial being in the soil, but not snake worms. They damage the soil by eating large amounts of organic matter and leaving behind their castings (poop) which resembles Grapenuts cereal, small granules of black matter. Their castings change the micro biome of the soil making plants less likely to survive. There are not legally allowed control measure for obnoxious invaders except for hand removal of them. There is some research work being done at the University of Vermont and more around the Great Lakes as the snake worms are having a very large detrimental effect on the forest floor in those areas. Crazy snake worm adults will die when the ground freezes, but they leave behind their eggs, called cocoons, which will survive the cold to hatch next spring.

The next critter that made an appearance was an earwig. My gardens have always had a lot of these brown decomposers of dead plant material, but occasionally I they will feed on live leaves, flowers and fruit. Normally they do very little harm, despite their fierce looking pinchers on their butt end. They use their forceps for defense and offense, and will pinch skin if you hold one in your hand. Earwigs overwinter in the adult stage, coming out of their dormant period in the spring to ensure their population continues yet another year.earwig 10-19

Grubs are the larval stage of beetles. There are many beetles which inhabit soil and above ground spaces. Most lays eggs in or on the soil, which hatch into grubs that feed on plant roots. Grubs in the lawn can cause significant damage, so do grubs in the vegetable garden when they feed on the roots of my vegetable plants. As a general rule, I squish grubs when I find them in my vegetable beds, even though some adult beetles may be considered beneficial by feeding on other pests. In my garden, the Asiatic garden beetle is the predominate one, causing lots of feeding damage on my leaf crops. They love basil, effectively stripping plants seemingly overnight.

The vibrations of my scraping the soil seemed to bring armies of squash bug nymphs and adults to surface where I was working and to adjacent areas yet to be disturbed. This was the squash bed and I expected the squash pests to be where the cucurbit crop was grown, but I didn’t anticipate the crowd that came to see why I was unearthing their winter abode. Only the adult stage is listed as overwintering, but I found many nymphs not yet developed to their mature adult stage. I hope the cold will kill them so I don’t have to squish many more.

squash bug adult 10-19

Adult Squash Bug


The final insect I found while digging wasn’t crawling or moving. It was the resting stage of a moth, which species, I do not know. It was the pupa without many identifying features. I have yet to find a book just on moth pupae, but I am still looking. Once I found the pupa of a tomato hornworm, identifying itself by the hookshaped ‘horn’ on the end of the pupal case. I wish I had taken a photo of that one!

pupa, moth 10-19

-Carol Quish


zinnias 10-19


We have had a home compost bin going in our backyard for a good twelve years now. We a started out with a bottomless, stacking, heavy-duty plastic bin that has three open square sections that fit one on top of the other with a jointed lid that opens halfway. The method of that system was to open the lid on its hinge and dump in whatever was being fed to the compost pile. As the level rose in the bin (let’s call it bin 1), you were supposed to remove the cover, take the top section, which is basically an open square, and place that on the ground. It would then become the bottom layer of bin 2.

We would scoop the composting matter out of bin 1 with a pitchfork or shovel, turning it over and dumping it into bin 2. The process was repeated until the level in bin 2 rose to the top of the bottom square and the amount in bin 1 decreased enough to remove the second level. This was then placed on the bottom tier of bin 2 and the shoveling process was repeated until the third tier could be placed onto bin 2 and then covered with the lid. Needless to say, it was a fair amount of work and in order to use any finished compost that it might have generated involved another step. In the process of transferring the pile to the new ‘bin’ we would screen it for any usable finished compost. What I liked about this system was that the open base sat directly on the ground which made it easy for the earthworms to get in there and do their thing. It’s still in use in our yard but more as a holding bin at this point.

We received the gift of a tumbling composter from our daughter and son-in-law a few years ago (it’s the same model that they have) and it has made the composting process much easier. The fact that it rotates means that we don’t need to continually turn it over with a shovel, we simply give a few good spins each time we add raw material to it. It also has two compartments, one for new material and one for compost that is in the works. When the new side is full the ‘in the works’ side is usually ready to be used. You simply place a tarp or low bin under the barrel, rotate it so that the opening is at the bottom, slide the door open, and the compost dumps out. OK, sometimes it doesn’t just fall out and needs a bit of encouragement, especially if it is still pretty moist. We will add this to the tiered bin if we aren’t ready to use it right away.

Our bins, side by side

Dog waste composterOur son and his fiancée returned to Connecticut this year and they have embraced all things gardening and environmentally friendly, including composting. They even have an in-ground dog waste composter as they have two adorable fur-babies who provide plenty of material for it. It’s basically a septic system for dog waste. Dog waste shouldn’t go into a home compost pile that is used in a vegetable garden as it doesn’t get hot enough to destroy the harmful pathogens that may be present. Additional info on composting do’s and don’ts can be found at the UConn Soil and Nutrient Laboratory’s Composting Basics fact sheet.

However, what I really want to tell you about is a beneficial visitor to Luke’s backyard compost bin. It started with an image that he sent to me of a little black flying insect that he said were all over the outside of their first compost bin which was simply a 30-gallon plastic storage bin that they had drilled holes into. What I saw was a little bluish-black fly with two wings so I immediately suspected that it was a member of the order Diptera.

Adult fly on storage bin, image by Luke Pelton.jpeg

Further investigation revealed it to be a black soldier fly, Hermetia illucens. I got to see it in person the next time that I stopped over and the first thing that I noticed was that its shiny body seemed metallic and almost wasp-like with a very narrow ‘waist’. It may remind you of the mud dauber wasp Trypoxylon politum with its shiny blue-black exoskeleton. And there is a good reason for that. The soldier fly is considered a mimic fly, using its appearance as a form defense as it tricks predators into thinking that it is capable of stinging them. But these harmless flies do not sting; in fact, they don’t even bite since they don’t have mouth parts or digestive organs. They subsist on nectar and water, living off of fat reserves from their larval period. The adult female will lay her eggs, up to 500, near decaying matter but not on it so that she does not transmit any pathogens from the waste. And then the really interesting stuff happens.

The larvae of the soldier fly are among some of the most efficient waste-consumers ever to exist. As soon as they hatch they begin to consume waste, double their body weight per day, a process that they can extend for up to 6 months if the conditions are unfavorable for their development. They start out 1 mm, .04 inches, in length and can reach up to 27 mm, 1.06 inches, within two weeks. The image below shows many different sizes cohabiting.

BSF larva 1 image by Jamie Zimmerman.png

Their diet can be any kind of organic waste; kitchen scraps, animal manure, and even coffee grounds, although coffee grounds alone aren’t good long-term as it boosts their metabolism and makes them overly active (does that sound familiar?).

As they eat they can actually raise the temperature of the compost pile, a benefit as higher temps also help to speed up the composting process. They eat waste before it has a chance to decompose and start to smell. Their frass, or poop, is an odorless residue.

BSF larvae 3 crop

When it is time to pupate, the larvae go through a stage known as prepupae wherein they stop eating, empty their guts of any of any undigested remains, and then their chewing mouth parts become climbing mouth parts as they head to drier areas to pupate for the next week or two before the adult fly emerges to begin the cycle again. Some of the larvae in Luke’s bin may be emigrating to a new home in our bin this weekend so that we can also employ their amazing abilities, at least until the temperatures descend below 32°F. Black soldier flies do not survive the extreme cold of a Connecticut winter so we can only hope that they will return to the area in the spring. As I tried to get images of them I learned two things about them: The larvae prefer to be out of sunlight as they moved very quickly into darker areas and the adult flies are even quicker!

Getting a good image was difficult as they do not sit still but fortunately Bugwood had some great ones, as seen below. The image on the left was taken by Marilyn Sallee, Bugwood.org and the image on the right by Johnny N. Dell, Bugwood.org.

The black soldier fly is an amazing little creature that is quickly emerging as an important economic and ecological member of our world. The grown larvae are high in protein and fat making them a desirable food source for poultry, some livestock and even humans. If they are fed a diet of fish-trimmings they can actually contain omega-3 fatty acids. Although Diptera species account for only 2% of the edible insects consumed worldwide as of 2012 this number may increase as the wonders of this little marvel are researched further. Just in case you want to start searching for recipes.

Susan Pelton

Images by Susan Pelton, Luke Pelton, & Jamie Zimmerman except where noted.

UConn Home & Garden Education Center


forsythia

The earth is continuing to awake this week, wide-eyed and full of vigor. The most obvious, in-your-face sign is the bright and intense yellow flowers of forsythia popping up and out of landscapes and yards. There is nothing subtle about forsythia. It is loud and screaming to be seen. A designing friend once called it the “spring vomit defiling the landscape.”  Another bit of sage wisdom on color theory about yellow was offered from a quilt teacher, “A little yellow goes a long way.” But I think forsythia’s splash is just what is needed after months of grey and browns of winter, especially a winter without the white of snow cover.  Forsythia shocks us out of the winter doldrums and seems to waken all the other flowers.

forsthyia in the woods


Forsythias bloom on wood grown in the previous year. Prune forsythia the spring immediately after flowering. Flower buds develop during the summer and fall, and fall, winter or early spring pruning will remove them. Forsythia is a non-native plant here. Most species are from Asia with one originating in Southeastern Europe.  Forsythia is often used a marker and reminder to apply crabgrass preventer. Once the forsythia is starting to drop its flowers, the timing is right to apply pre-emergent fertilizer. The same ground temperatures at that stage of blooming are the same ground temperatures to initiate crabgrass seed germination. Good to know.

Daffodils complement the landscape, drawing eyes away from possible blinding by overplanted forsythia hedges. Daffodils come in varying shades of yellow from soft, pale yellows and whites to deep, yellows with almost orange trumpets. Bulbs planted in clumps look more natural than soldier straight rows, although rows add a sense of formality and satisfy the orderly type of gardeners. All parts of the daffodil plant is toxic to animals, making is a good choice where deer and voles are common to visit.

daffodil clumps

Directly following the forsythia flowers, several showy trees begin blooming. First is the star magnolia, (Magnolia stellata), with its white star-like flowers. Any winds will move the tepals, and if you squint hard enough, look like twinkling stars. Star magnolia is native to Japan and is a common specimen tree here in the U.S..  Flowers delicate often succumb to frost damage and turning brown tinged.


Saucer magnolia (Magnolia x soulangiana), blooms a week or two later than the star magnolia. Saucer magnolia flowers are cup shaped in various shades of pink depending on variety. The parents of this hybrid are Magnolia denudate x Magnolia liliiflorsa, both native to China. I love the smooth grey bark visible during the winter once the leaves drop, providing great winter interest.

 Another softer and less yellow flowering shrub blooming currently is Cornell pink azalea AKA Korean azalea, (Rhododendron mucronulatum). Blossoms come out before the leaves turning the multi-stemmed shrub into a mass of many clear pink flowers. It is native to Korea, Russia, Mongolia and Northern China. Bees especially appreciate its rich nectar source and often are can be seen visiting at all times of day.

Rhododendron mucronulatum. Azalea Pamm Cooper photo

Spicebush, (Lindera benzoin), is a native understory shrub with subtle, pale yellow flowers attached along branches before leaves emerge. Look into the woods to see a bit of dotted yellow haze in wet areas. Leaves can be used to make a tea. Red berries will be produced later in the season providing food for wildlife and birds.

spice bush

Cornelian cherry, (Cornus mas), is not a cherry at all, it is in the dogwood family. Native to Europe where the fruits produced later in the season are used for preserves and syrups, if you can beat the birds to harvest them.  Mature trees develop interesting, exfoliating bark.

Look lower to the ground for first spring flowers. The native bluets (Houstonia caerulea) are beginning their show up. Other common names are Azure Bluet and Quaker Ladies. Find them growing in moist areas near stream banks, rivers and ponds. I see them in natural lawns where no herbicides or weed and feed products were ever used. Cow fields are usually loaded with them in rural areas.

Bluets

Bloodroot (Sanguinaria canadensis) is another native spring flowering plant poking its white blossoms up from the soil with its leaves following below. Flowers are self-pollinating, and then form a seed pod which ripens around July. Ants are important allies in spreading the seeds, and eating the rich lipid coating on the seeds, aiding in germination.  Bloodroot occurs natural in woodland settings, blooming before the tree leaf canopy develops. Bloodroot gets its name from the red juice emitted from rhizomes historically used to dye wool and fabrics. It was also used for medicinal properties in the past.


-by Carol Quish


Next Page »