Houseplants


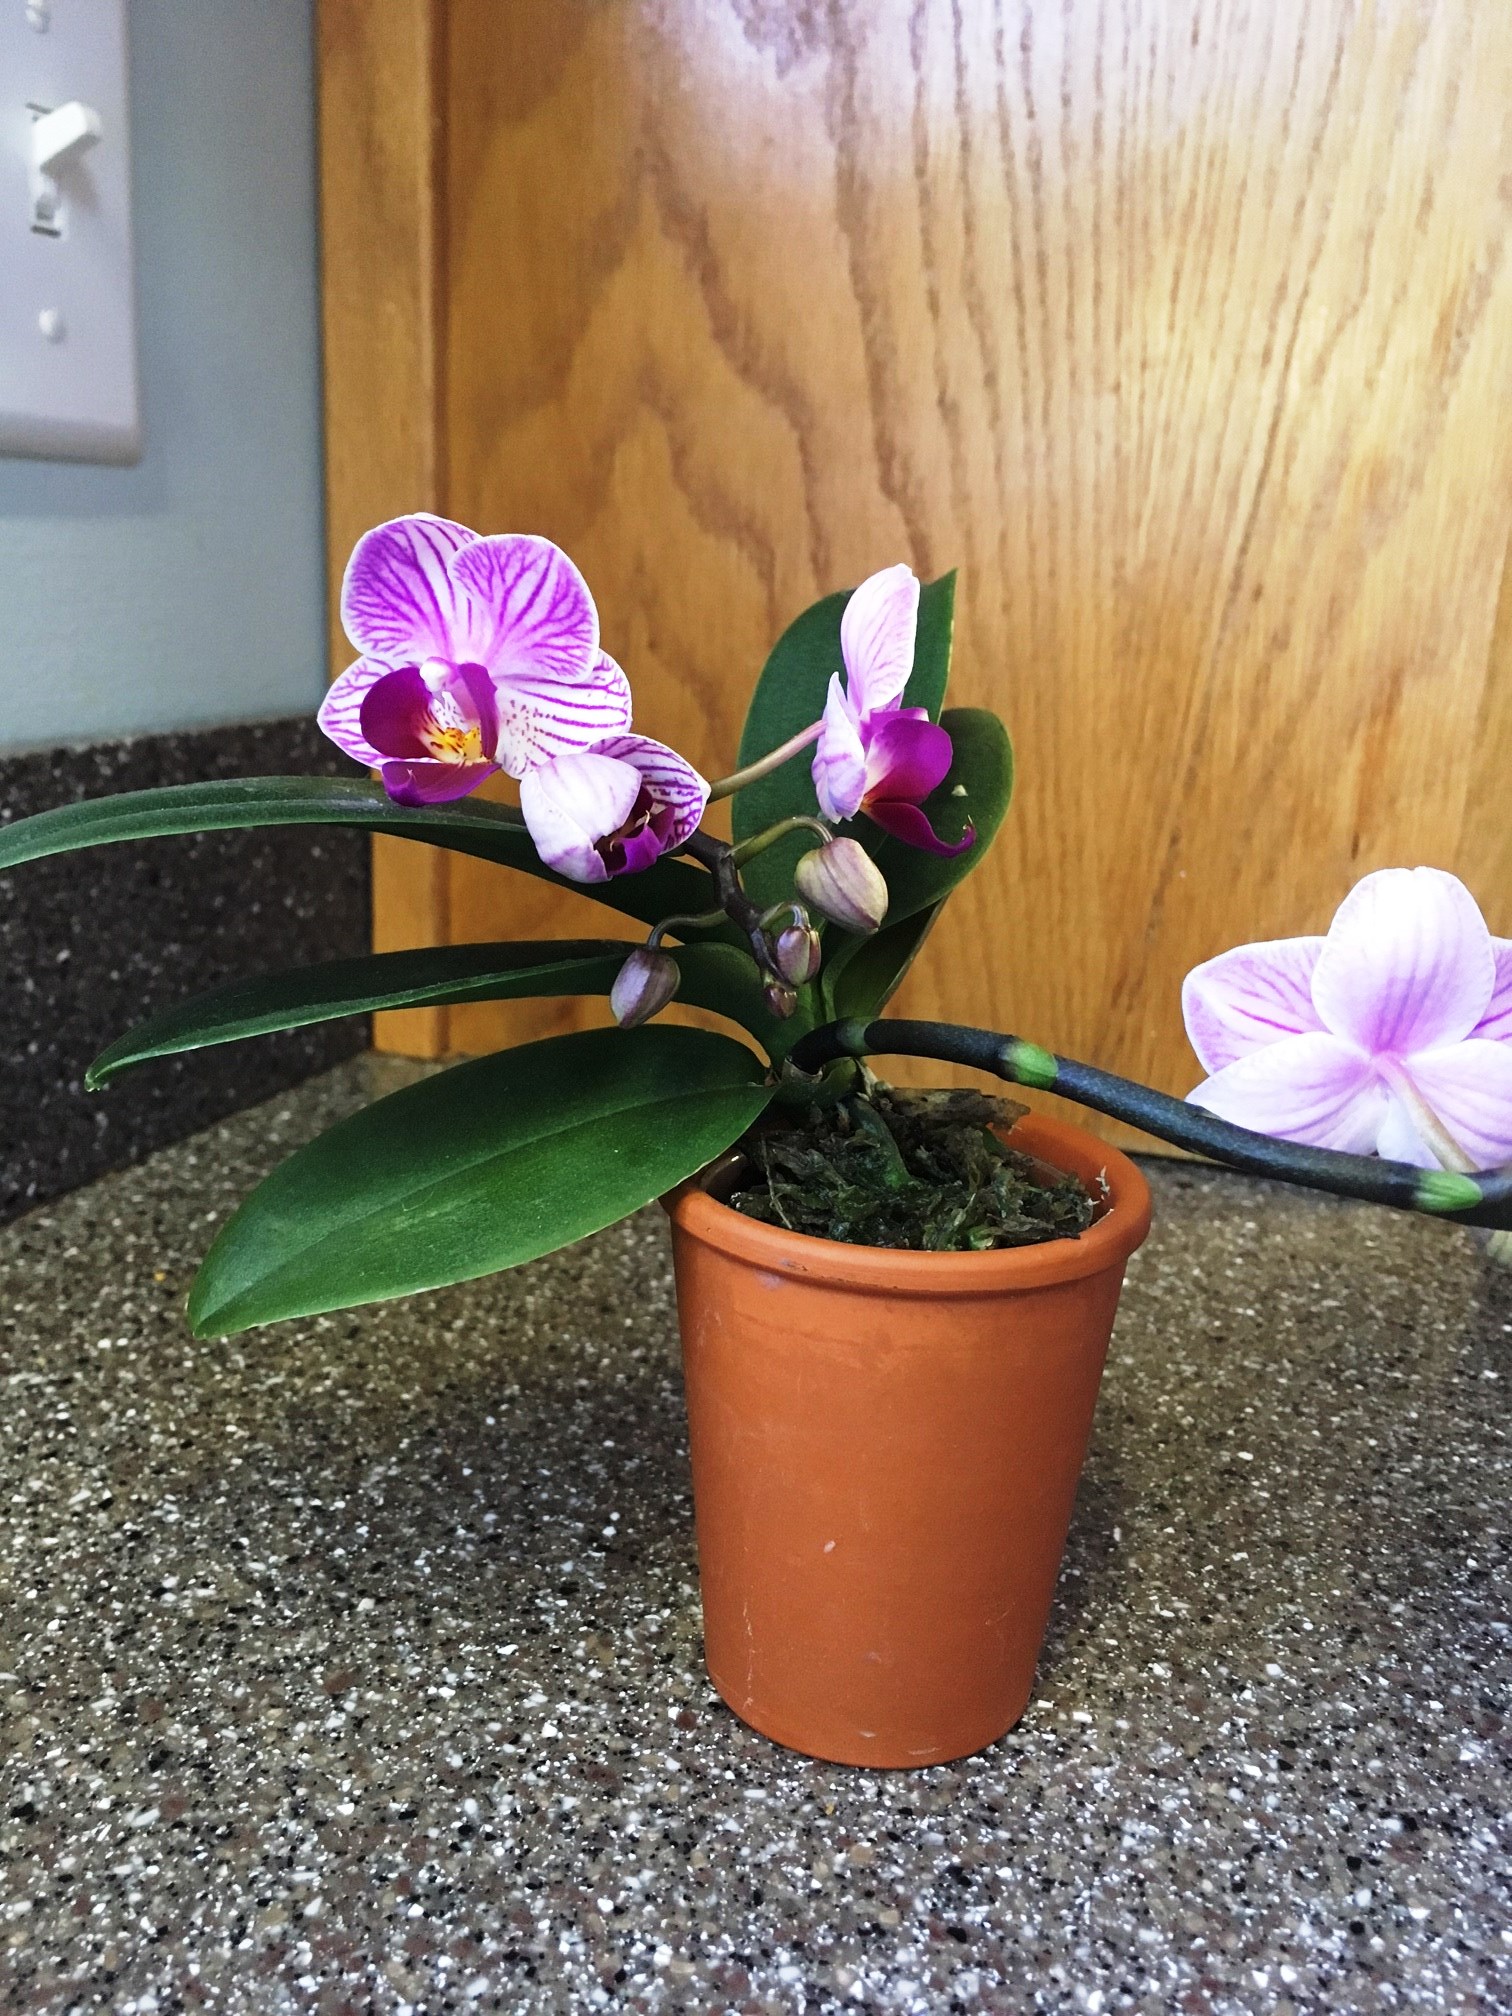
As the winter weather intensifies this season and outdoor gardening tasks come to a close, you may be wanting to turn your attention indoors, to where you can care for plants in the warmth of your own home. Raising a bonsai tree is the perfect indoor hobby for anyone who enjoys connecting with nature or creative expression, and a great way to exercise your green thumb during the winter months. Since starting my first bonsai tree about a year ago, I have come to love the patience and calmness that this activity brings me. I hope to pass along some of the gardening tips I’ve learned, as well as motivation for anyone else interested in beginning a bonsai journey of their own.

So, what exactly is bonsai gardening? A bonsai plant can be any species of tree which is grown in a shallow container, and shaped to produce the miniature version of a tree in nature. Bonsai is a Japanese art form which was derived from ancient Chinese practices and influenced by Buddhist philosophy. The practice of bonsai is enjoyed by gardeners all over the world today, as a challenge to one’s skills and artistry and a symbol of peace and balance in nature. While some professionals take years to master the practice, anyone can get started as a beginner in bonsai and experiment with what the art form means to you.

Some impressive examples of bonsai art. Images from Wikimedia Commons.

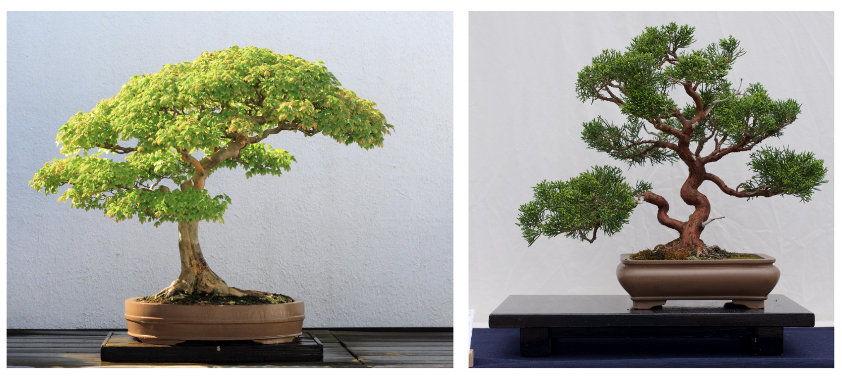
For beginners looking to get started quickly with bonsai, buying nursery stock from a local nursery or bonsai shop is a simple way to achieve a successful tree. These young plants can be grown and shaped right away to start practicing with bonsai care. The professionals at a nursery or bonsai shop can also be a great resource for tips and advice to help beginners. Bonsai trees come in many different varieties, so it is important to choose which species is best for you and your environment. If you’re planning to grow a bonsai indoors, look for a sub-tropical tree species such as Ficus or Jade. For outdoor bonsai, some popular species are Juniper bonsai and Chinese elm.

An equally important decision to start your bonsai is selecting the right pot for planting. Traditional bonsai pots are wide and shallow, with holes for drainage and wiring to keep the tree in place. They are commonly made out of ceramic and come in a variety of colors and designs to suit your aesthetic. Bonsai trees also require the right soil mix for proper health and moisture. Look for a soil made for bonsai with the right mix of akadama, pumice, and lava rock for your tree species.

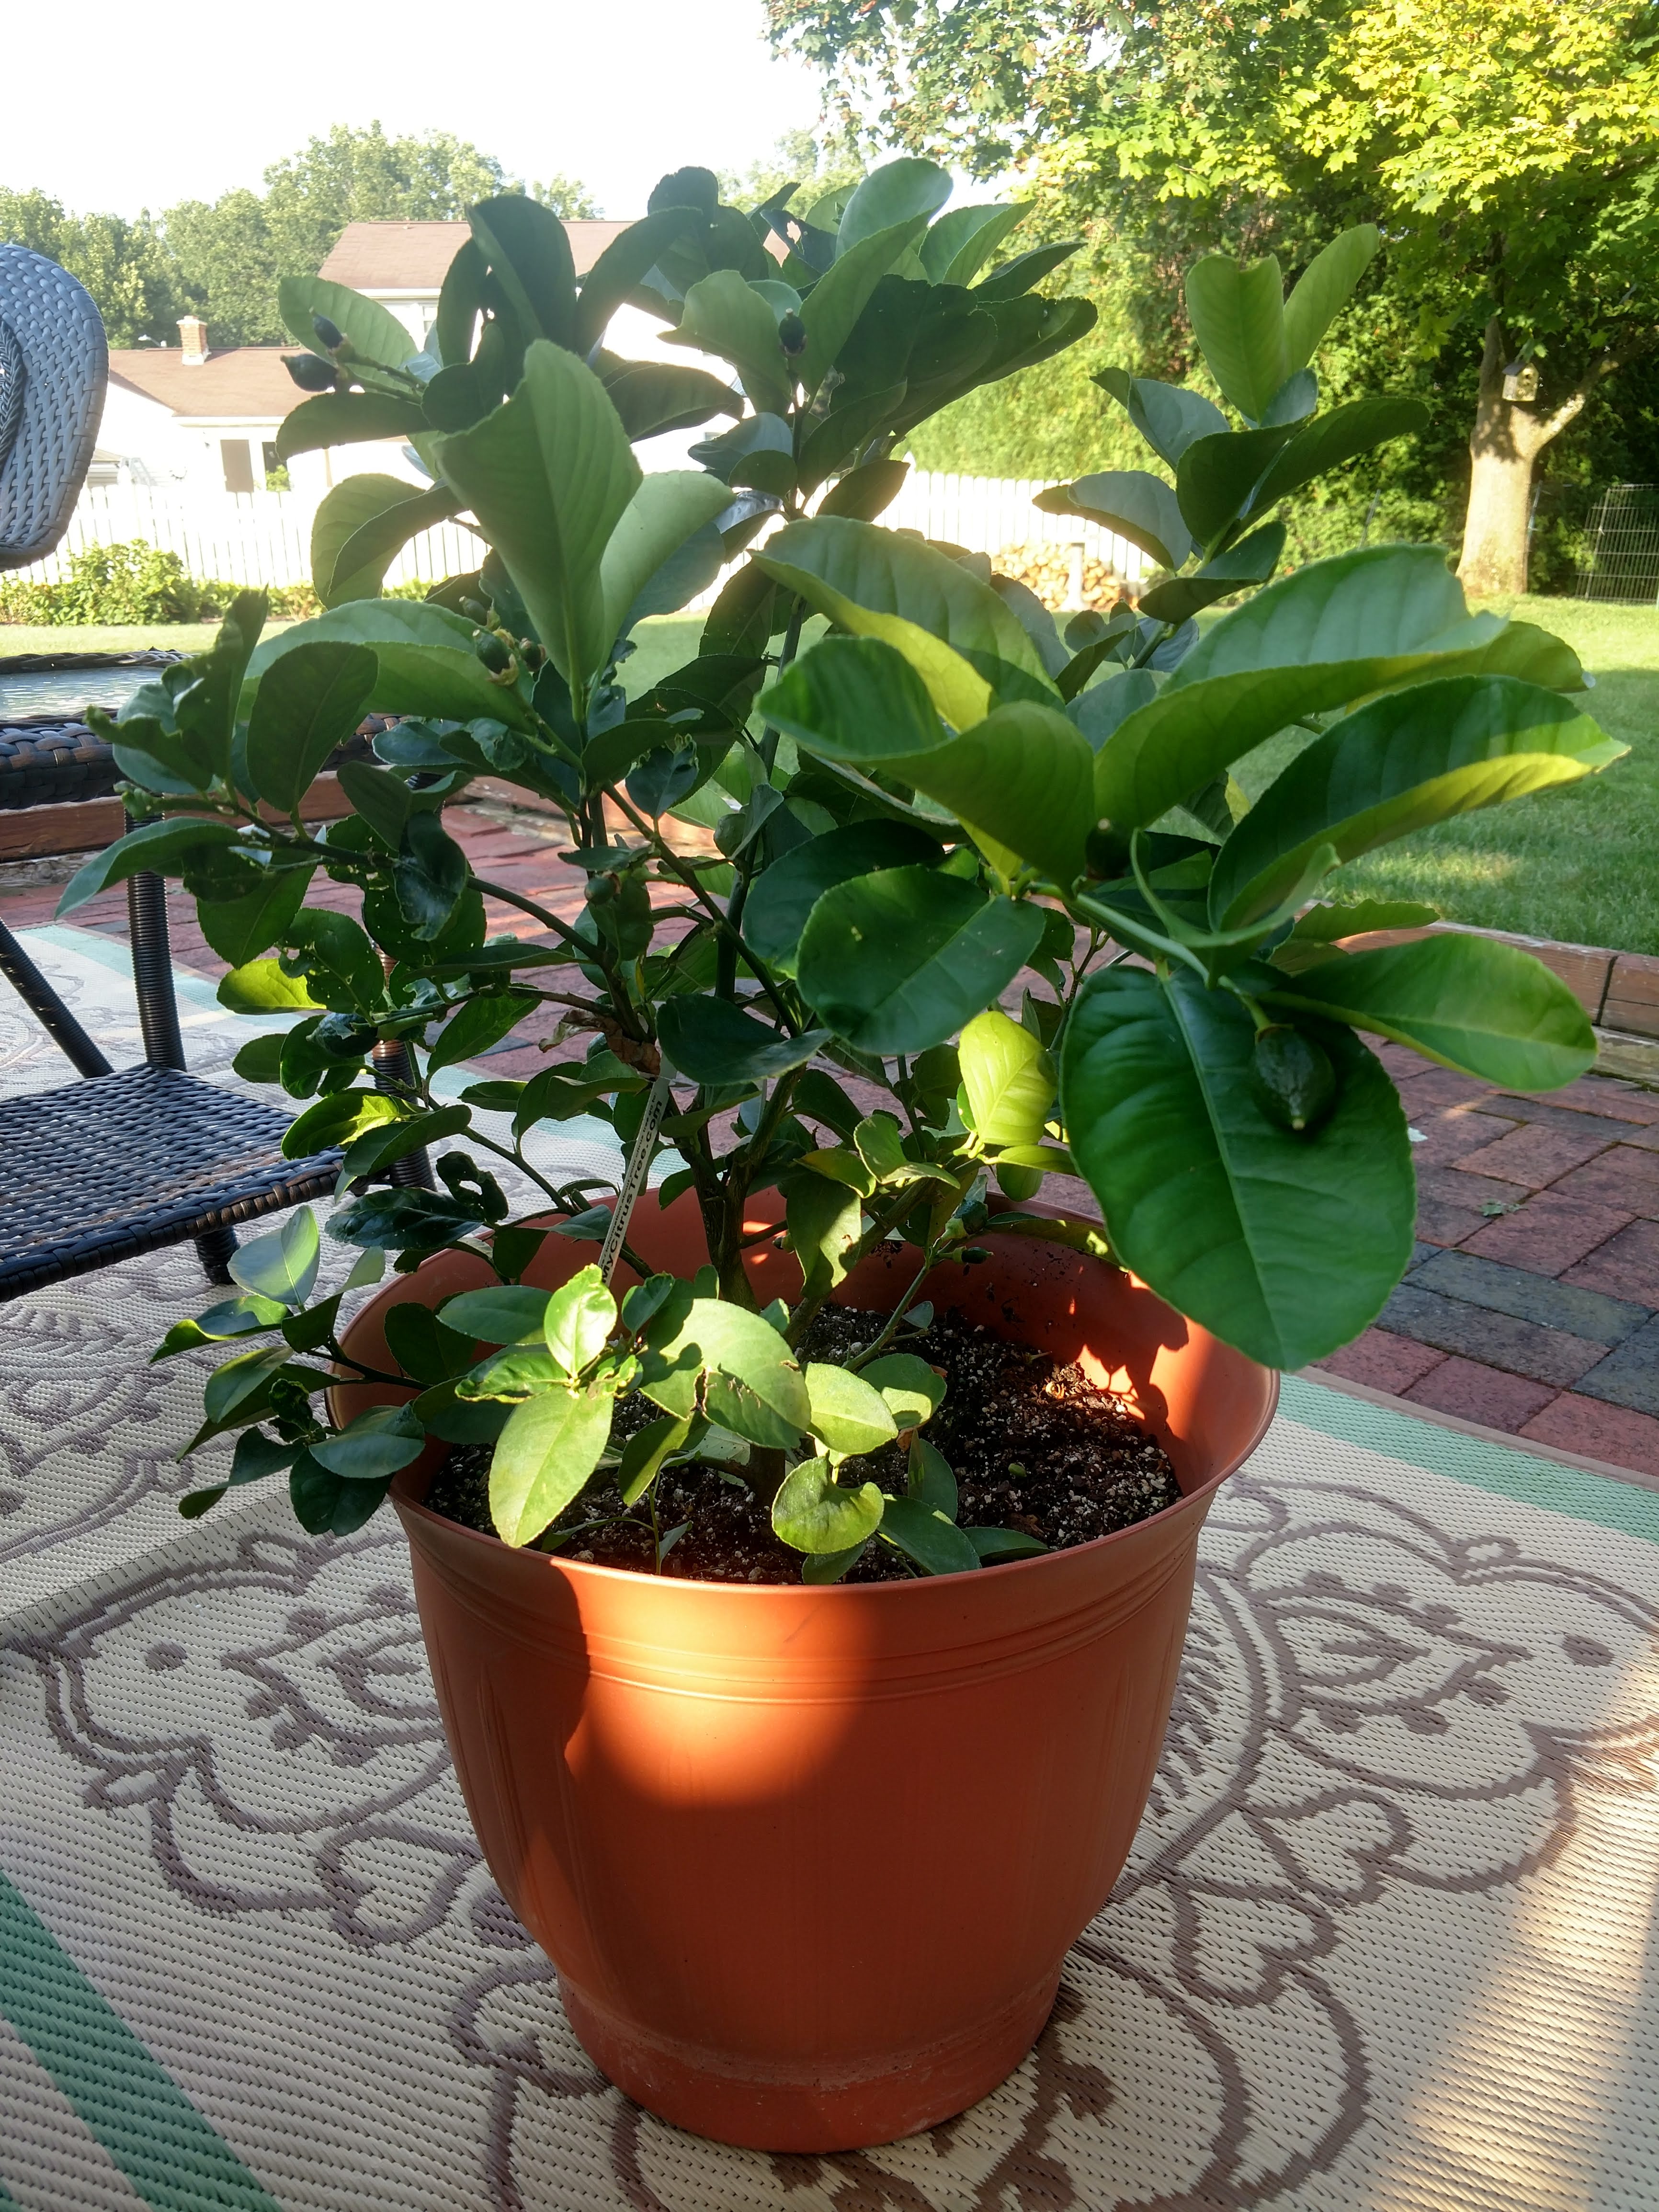
Now that you know how to start growing your own bonsai tree, let’s get into some basic plant care tips to keep in mind when practicing the art of bonsai. The first and most important step in bonsai care is watering. It’s best to water your tree as needed when you notice the soil is slightly dry, rather than sticking to a strict schedule. I like to water my miniature jade bonsai by submerging it in a container filled with water until the roots are fully soaked, then letting the excess water drain from the pot.

Another helpful tip to keep your bonsai healthy is fertilizing the soil regularly. Because bonsai trees are confined to small pots, it is important to replenish those soil nutrients for a happy bonsai tree. I use a fertilizer specific to tropical bonsai which can be found at a bonsai nursery, and apply a spoonful around the edges of the pot about once a month before watering. Be sure to follow the instructions listed on your bonsai fertilizer for proper use.

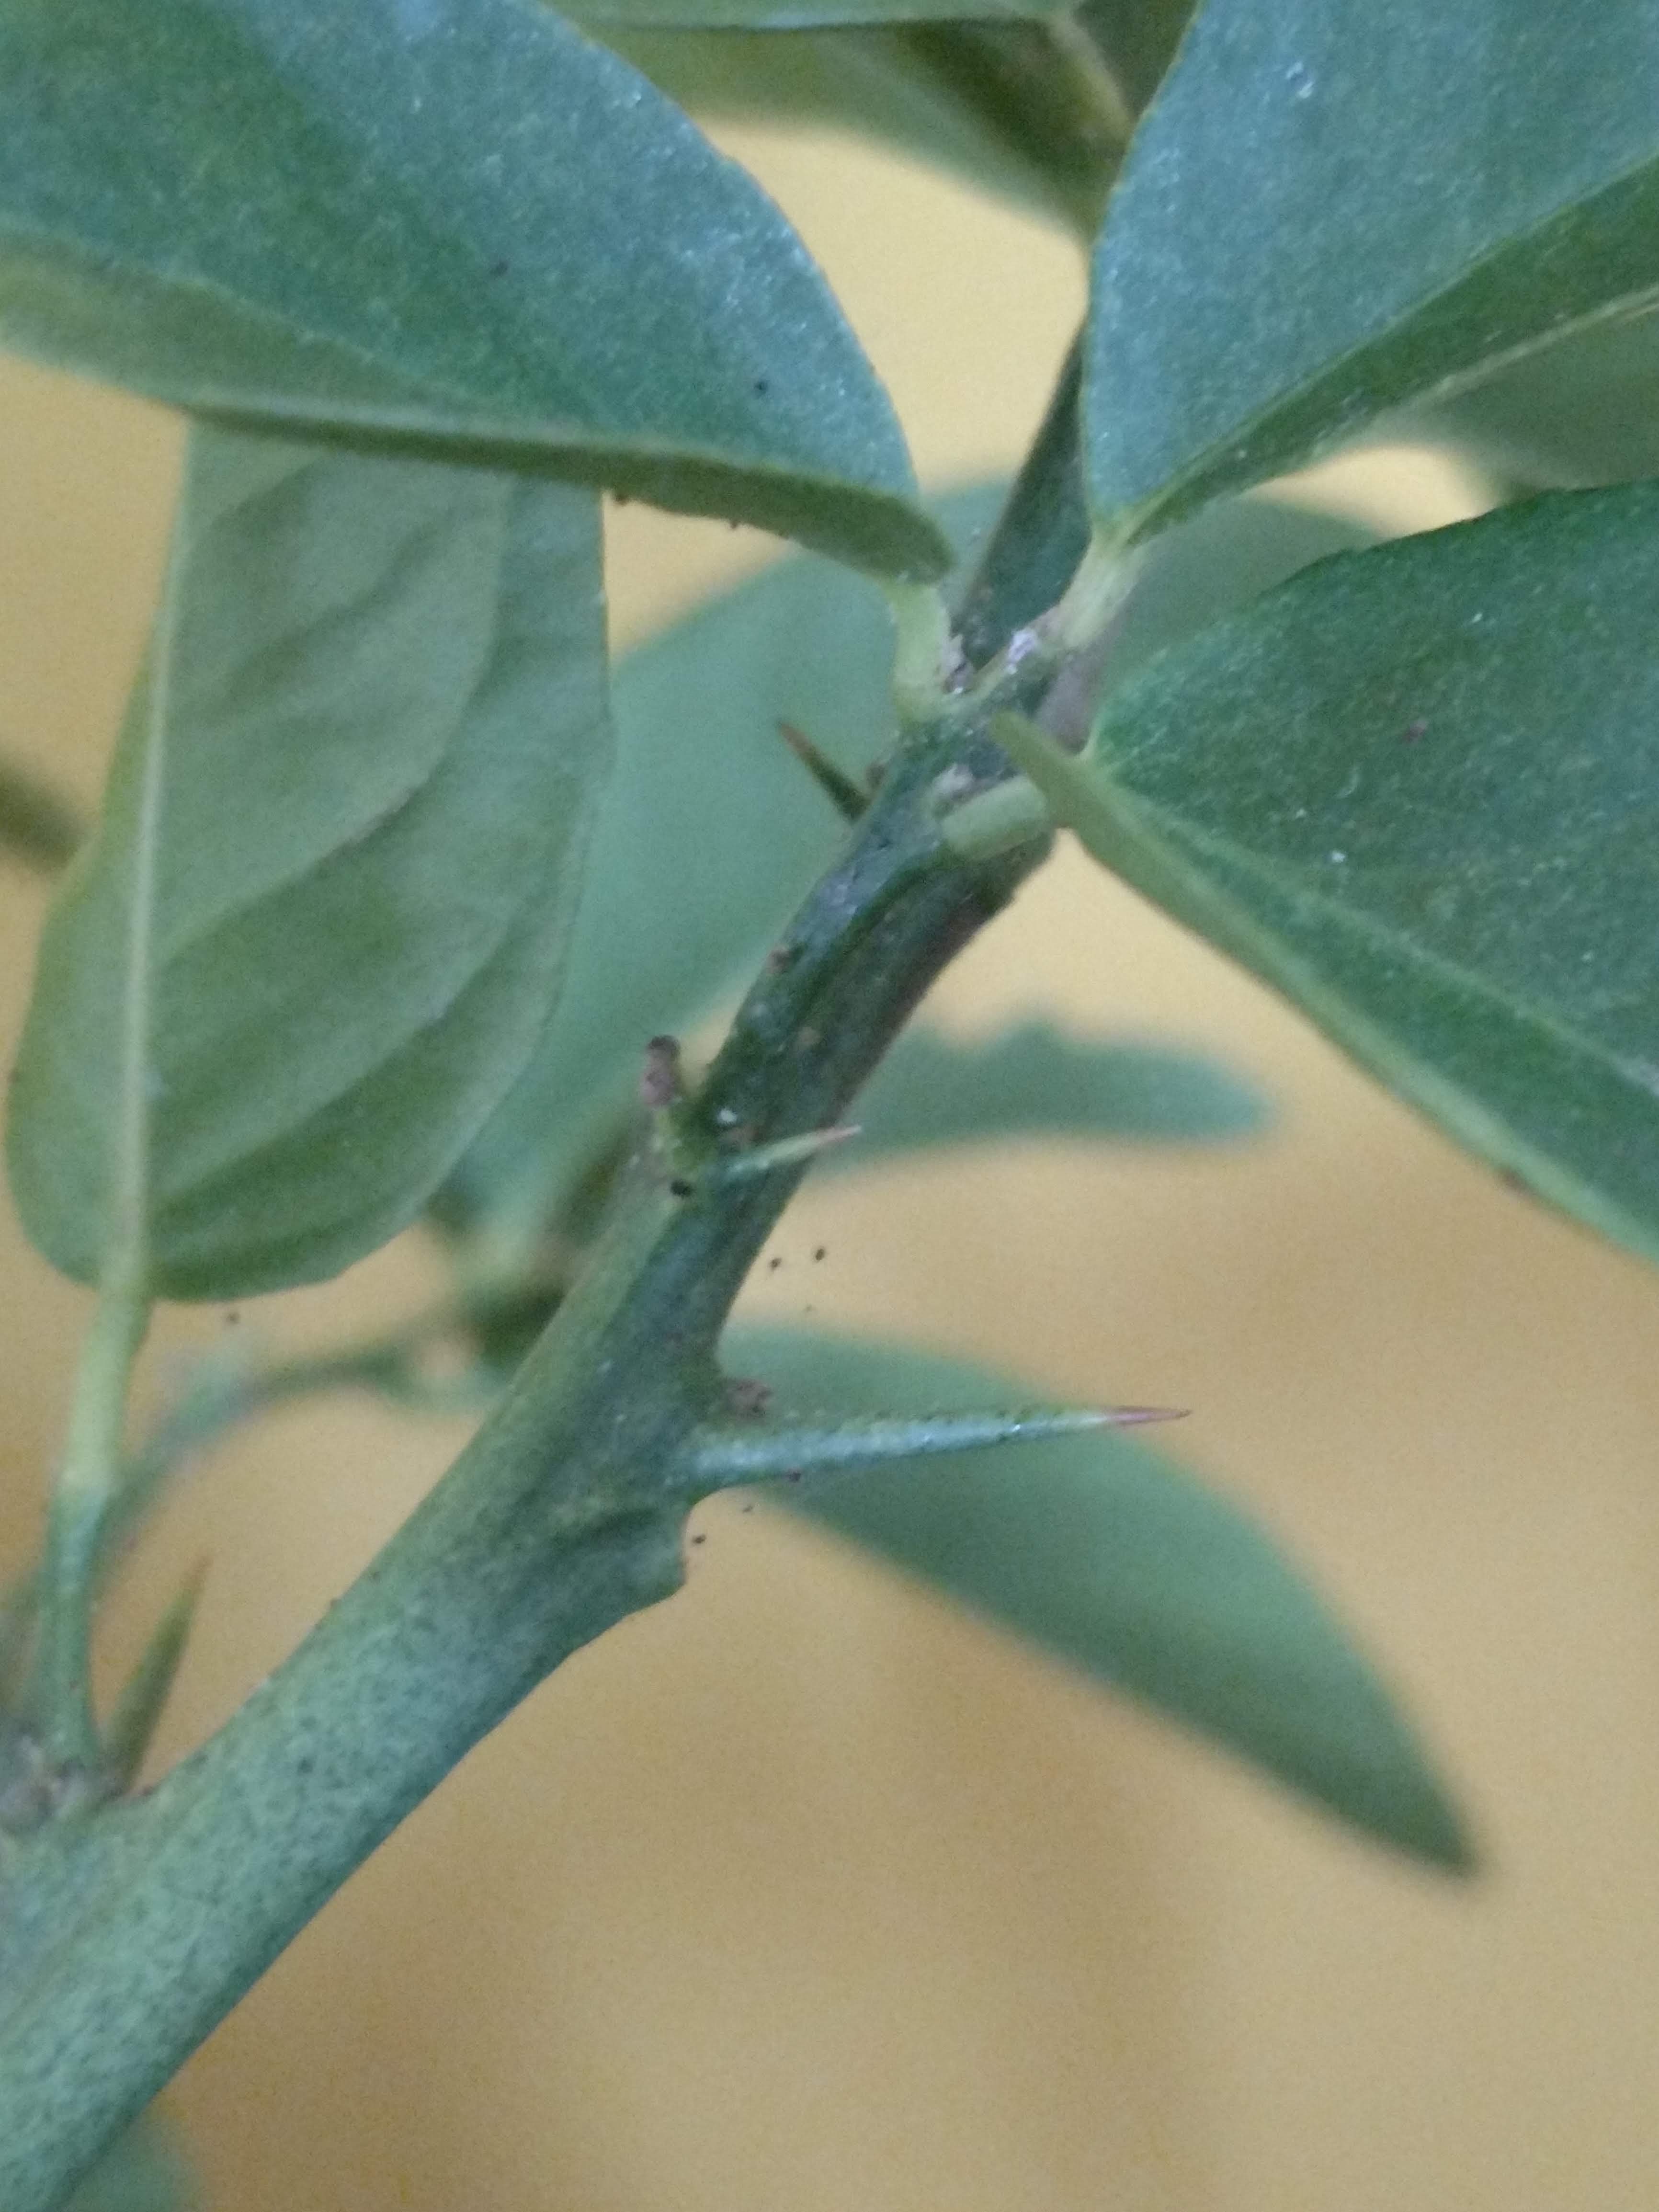
A crucial element to the practice of bonsai is pruning and shaping your tree to achieve that signature bonsai look. The way you choose to prune your tree can vary depending on the species and desired shape, but it may take some time to experiment with which techniques you like best. To me, the learning process of pruning is very therapeutic and one of the most fun aspects to growing a bonsai. There are plenty of online resources you can go to for help and inspiration in establishing your bonsai design. In general, here are some guidelines to follow when deciding how to shape your tree:

● A good time to prune your bonsai is about every 2 months when new growth is forming

● Use your fingers to pinch off unwanted leaves from your tree

● Use sharp bonsai scissors to trim or remove certain branches, including those that are too long, dead, crossing, growing upwards, or blocking the view of your tree’s design

● Make your branch cuts close to the main stem/trunk to help incision wounds heal quickly, but be careful to not damage the trunk

● Removing no more than 1/3 of your plant’s foliage will keep it healthy while promoting growth

● Consider the use of bonsai wiring to train and shape tree branches to fit your design. This step should be done with care to avoid damaging your bonsai.

Growing an indoor bonsai tree during the wintertime is a perfect way to bring life and color to your home, and with a bit of patience and care I hope you too will find this commitment to be very rewarding!

Laurel Humphrey, UConn Plant Diagnostic Lab

It’s been a tumultuous week. We had unexpected home expenses, a heatwave we weren’t quite prepared for, and both a birth and a death in the family.  Life can be tough sometimes, but I find that having a perspective of gratitude (even when I feel I’m forcing myself to have one) can really help me navigate difficult situations. Being grateful for the positive things in life can help to smooth over the potholes along the way. While I normally like to write more “functional” blog posts, this week I’ll discuss some plants for which I am grateful.

I moved to Connecticut from Florida in 2021. While my partner and I generally love our new state, it has taken some adjusting. We were nervous to be in our 130+ year-old rental for our first New England winter, so we began house hunting in the early fall. We were lucky enough to find a home in September, and while it had/has a few minor areas in need of some improvement, it has good bones, a great kitchen, and is in a quiet neighborhood.

Being a self-described plant nerd, I immediately began to think of how most of the plants outside needed caring-for, and how many would need to be replaced. There were some dead trees in the back yard that needed (and still need) to be taken down, a sad rose bush that had blackspot on the leaves and dead canes throughout, two diseased boxwood bushes, a carpet of sick pachysandra, and more than a dozen clumps of ugly Hostas surrounding the house, all riddled with holes from the many slugs that make our wet yard their home.

That’s not to say that there weren’t some beautiful, healthy plants too, but I went into the winter believing that I would need to do some major landscaping in the spring. Over the winter I gave a lot of attention to my houseplants – many of them remind me of Florida (read some descriptions below if you’re curious).

I did some yard work when the weather wasn’t too bad. I pruned out the smaller dead trees and some of the inconvenient ones, and I trimmed-up the sad rose bush (likely for the first time in its life). I also cleared away the dead bits of Hosta leaves, thinking I would dig-up and remove their rhizomes when the ground thawed and I had something else to put in their place.

I’m happy to say that I never found the time.

The Hostas grew back this spring and are now the best-looking plants surrounding our home. I went out to mow the lawn and do some weeding last weekend and was struck by how full, vibrant, and fresh they looked against our house. The previous homeowners even planted a few different cultivars – I can only guess which they are, but most seem healthy. I tested the only clump not growing properly for Hosta Virus X (HVX). Thankfully, it tested negative. If you or someone you know need to test your Hosta for HVX, submit a sample to the UConn Plant Diagnostic Laboratory. The UConn PDL is funded, in part, by the state of Connecticut and the USDA through IPM Extension Implementation and National Plant Diagnostic Network grants.

I’m grateful for my healthy plants and I’m grateful to have the knowledge to deal with my unhealthy plants too. Even a small thing like caring for plants can be fulfilling and grounding in its own way, much like caring for a pet or loved one (just with lower expectations). When you are having a tough week, I encourage you to be grateful for the people, places and things that are important to you. Even the plants that help brighten your day.

Nick Goltz, DPM

Pointsettias pink and cream Peterstar marble variety-1

Did you receive a plant during this holiday season? Poinsettia, holiday cactus and rosemary trees are filling the shelves in greenhouses, grocery stores and even big box stores appealing to the giver to gift a plant lover on their list. While they are beautiful plants, they will need the correct care to keep them that way and in good health.

The familiar red foliage of the poinsettia plant are modified leaves called bracts. They surround the actual small, yellow flower at the center of the red bracts. Once the pollen from the flowers are shed, the bracts are dropped from the plant. Chose plants with little to no pollen for the bracts to be retained for a longer length of time. Plant breeders are developing different colored bracts, including variegated, offering many options than just red.

Poinsettias should be treated as houseplants as they are native to Mexico and will not tolerate cold temperatures. Keep the plants out of the way of drafts and not near cold windows. They prefer six hours of indirect light daily, and inside temps of 60 to 70 degrees F during the day, with night temps a little cooler. Water when the soil is dry, then drain excess from saucer or foil wrapping. Remove the foil wrapping to increase airflow to roots. Continuously wet soil will invite root rot, a common killer of poinsettia. Fertilizer once per month whenever the plant is not in bloom. Plants can be moved outside for a ‘summer vacation’ as long as they are located in dappled shade. Bring them back inside before frost in the fall. To coax the plant to flower and produce red bracts again the following year, put the plant into a dark room or closet for 12 hours at time for at five to six days in a row. Provide bright light during the other 12 hours of the day. This light/dark cycle triggers the photoperiodism mechanism within the plant to flower.

christmas cactus Dawn light pink1-1

Christmas cactus is another favorite holiday plant that can live for many years if properly care is given. They commonly come in shades of pink, white and even yellow. Christmas cactus (Schlumbergera x buckleyi) bloom around the end of December, and Thanksgiving cactus (Schlumbergera truncata) bloom about a month earlier.  In their native environment, they live in the crotches of trees up in the forests in Central America. Known as epiphytes, they root in decomposing organic matter (leaves) which catch in tree branches. Both require the same care and dislike being overwatered. Provide well-draining potting mix such as cactus mix, and allow soil to feel dry on the surface before watering. Clay pots are a good choice for holiday cactus, and both flower better when slightly root bound.

Holiday cactus needs full sun in spring and fall, and can be placed outside in dappled shade during the summer. Fertilize with an all-purpose houseplant fertilizer once every two weeks during the summer growing season. Bring in plants before first frost and never let them be in temperatures below 50 degrees F. They will need a rest of reduced watering after flowering, usually during the winter months. Shortened days and longer nights of fall trigger the plants to set flower buds. Cooler temperatures below 68 degrees F also help buds to form. Household lights turned on can interrupt the 12 hours of darkness needed, resulting in reduced bud formation. A cool, spare room not used at night is the perfect location to initiate flower buds.

rosemary plant photo from University of Georgia

Rosemary tree. photo from University of GA

Rosemary plants pruned into the shape of an evergreen tree are popular and useful gift. The leaves are a culinary herb used in cooking. It is a tender perennial, grown outside in the summer and can be brought in for the winter treating as a houseplant. Rosemary is native to the Mediterranean area, giving a clue to its needs for good drainage, warm temperatures and good airflow. It does better in a terra cotta or clay pot rather than a plastic one. Clay allows the soil to dry out more. Set the potted plant in a south or west window to receive six to eight hours of sun each day during its inside time during the winter. I summer, sink the pot and all in hole in the garden making it easy to bring inside next fall before first frost. Repot once a year in either spring or fall as they easily become root bound. Prune whenever you need to harvest the leaves for cooking.

The biggest problem with growing rosemary indoors is powdery mildew, a whitish/grey fungal disease. Fungicides are not recommended since the plant is edible. Neem oil is the exception and can be used on light infections, then washed well before eating. Locate the plant in a spot where the plant will have lots of airflow, not be crowded, and let the soil dry out completely before watering. If the air in your home is too dry, the needled leaves will dry out. With too much humidity, powdery mildew can develop.  Fertilize in the late spring when moving the plant back outside.  Herbs don’t need much fertilizing and will produce better on a lean soil. Over-fertilized plants are more prone to powdery mildew infections.

-Carol Quish

christmas cactus Dawn 2-1

As we head into the short, cold days of the winter solstice is there any food that so evokes thoughts of warm and sunny climes as well as citrus does? As a species, citrus has been cultivated since 3000 BCE and may originated in the area of the Himalayas more than 5 million years ago. Grapefruit, lemons, limes, oranges, and tangerines are among the domesticated sweet-tart fruits of the genus Citrus that we know and love. Most of them are descended from Citrus medica, also known as citron, a large, fragrant citrus fruit. The lemon is a hybrid of citron and bitter orange (Citrus x aurantium), and the many varieties of limes are hybrids of citron, pomelo, mandarin orange and micrantha (a slow-growing, unpalatable species from tropical Asia).

IMG_20191204_131430999

From the top, a pomelo, navel orange, lime, clementine, grapefruit, and in the middle, a lemon.

The Ponderosa lemon, Citrus x pyriformis, is another hybrid of the citron, this time with a pomelo, Citrus maxima. An ever-bearing slow-growing tree with glossy leaves and large ovate fruit, it is often grown as an ornamental plant in Connecticut. Less cold-hardy than a regular lemon, can be grown outside from May to October but will need to be overwintered indoors. I acquired one of these this summer and enjoyed the lovely scent of the large, purple-tinged, blooms each time I passed by it. As of October, none of the many fruit had ripened although they were much larger than the average commercial lemon. I later learned that they can reach the size of grapefruit and that this can take up to nine months!

IMG_20190812_182736559_HDR.jpg

Ponderosa lemon tree outdoors.

Taking care of a Ponderosa lemon is easy. Keep it in a clay or other porous material container that has good drainage. Allow the top inch of soil to dry out between waterings and then give it just enough to moisten the soil without allowing it to become soggy. When the plant is outside during the warmer months it may require daily watering like other container plants. Back inside, it may benefit from being placed on, but not in, a shallow tray of pebbles and water to keep the humidity level up. A monthly dose of a liquid fertilizer while indoors will benefit it, twice monthly when it is actively growing outside. Ponderosa lemon plants may be grafted onto dwarf rootstocks to keep their size manageable. They may still need some pruning to shape them at any time of the year but keep an eye out for the abundant spines along their branches.

IMG_20191203_105505321.jpg

Spines on a Ponderosa lemon tree.

The Ponderosa lemon produces blossoms and fruit year-round. You may wonder how pollination may occur in a home environment where there aren’t any bees or other insects flying about. It is due to the fact that the flowers of the Ponderosa lemon are perfect flowers, containing both male and female reproductive parts within the same blossom. Out of doors the movement provided by a breeze is enough to transfer the pollen grains from the stamens to the stigma. In your home, simply brushing a hand lightly against the flowers can achieve the same result.

So, while the Ponderosa lemon fruit will not be ready for use for a few more months there are still many other varieties of citrus that are ready and willing to grace our holiday tables and treats. For most varieties of citrus, the harvest runs between November and April and possibly into May if the conditions are good. The satsuma, or mandarin, orange (Citrus reticulata) produces fruit from August until December and so it has always been a favorite treat for a Christmas stocking, since the 19th century. We made a Victorian-style ornament from dehydrated slices of oranges, lemons, and limes many years ago and it still graces our tree each year.

The Florida navel oranges, Citrus x sinensis, are at their best from November to January, the California navel from December to May. Using the rind of navel oranges to make candied orange peel is one of the hallmarks of the holiday season for me. Candied, or crystallized, orange peel may seem to be an old-fashioned confection but it is always a popular addition to any cookie tray at the end of a meal. Crystallizing fruit is an easy process of preservation whereby small pieces of fruit or rind are cooked in a simple sugar syrup. When I make candied orange peel for the holidays, I start with 4-5 large navel oranges that have been rinsed and dried. The first cuts remove the navel and stem ends of the fruit. Standing the fruit on one of these flat cuts, cut longitudinal slices of peel away from the inner white pith. These slices often need to be cut lengthwise again into 2 or 3 strips.

IMG_20191203_102237317

When all of the orange peel has been prepared in this way they are put into a saucepan and covered with cold water. Bring them to a boil and then simmer them for 15 minutes. Drain the peel. Repeat this process two more times. This helps to remove bitterness from the peel.

While the peel is draining for the final time, bring one cup of water and two cups of sugar to a boil in the saucepan. Add the drained peel and reduce the heat to a simmer. Allow the peel to simmer until it has become translucent, up to an hour. Transfer the peel to a piece of parchment paper and allow it to cool. Toss the pieces of candied peel in superfine or confectioner’s sugar and allow it to dry overnight.

Keep it in an airtight container and use it to garnish your holiday trays or simply enjoy a few pieces with a cup of tea as you relax in front of the fireplace.

Susan Pelton

UConn Home & Garden Education Center

orchid yellow flower

Cold weather keeps gardening chores indoors. A recently acquired, but neglected moth or Phalaenopsis orchid came my way and needed some attention. I had another one on the window sill in need or repotting and set to the task. Moth orchids can outgrow their pots in about a year’s time as their wandering roots reach outside and above the edge of the containers. In their natural environment, they grow high in the trees, above the soil, taking all of their nutrients from the humid, tropical air, rain and debris which may land around the plant. This manner of growing is called epiphytic.  Leaves grow from a center grouping, sending roots out from just below leaf axis.

Mature plants usually flower late winter into spring. Flower show can last for several months. Repotting is best right after flowering. New orchids are often sold with roots packed in sphagnum moss to keep them moist during the shipping and retail portion of their life. Once home, moss and any plastic packing and pots should be carefully removed. Orchid roots like air and will rot if keep soggy and wet.

After removing moss.

Cut back any dead or rotted roots.


roots trimmed - Copy

After cutting back dead roots in moss.

pot half filled with roots above - Copy

Neglected roots cut back.

Phalaenopsis orchids prefer a porous pot such as terracotta which provides plenty of air. Some decorative orchid pots have holes designed in the sides for the roots to access more air. Water these plants and pots over the sink as water will readily run out.

Use specially formulated orchid bark mix for potting. The mix should contain bark, perlite and horticultural charcoal. Old bark deteriorates over about a two year period, and should be refreshed annually by repotting to keep the plants strong.

Fill the pots half full of bark mix, then set the trimmed root ball onto the bark, spreading out the roots carefully. Insert a plant stake or chopstick through the bark mix, next to the plant to help anchor the orchid.

pot half filled - Copy

Half filled with bark mix.

Gently add more bark mix over the roots to within one half inch of the top edge of the pot. Fill a large cooking pot or bowl with tepid water. Immerse the entire pot containing the bark and plant into the water to soak the bark for about 20 minutes. Then lift the terracotta pot containing the plant out of the water and let is drain in the sink. If settling occurs, add more bark. Orchids should never completely dry out. Keep the bark moist by soaking weekly, or water just the bark from above. Holes in pots are a must for good drainage.

Moth orchid should be placed in bright light, preferably east window. A south or west window will need a sheer curtain or the plant moved back out of the directly rays of sun to avoid leaf scorch.  In their wild home, they would be shaded by the tree canopy.

Orchids thrive in high humidity and temperatures around 75 degrees F with a slight drop at night. In the fall, reduced daylight and night temperatures of 55 degrees F will initiate flower bud formation. To provide more humidity, mist with clear water in the morning or set potted plant on a tray of pebbles and shallow water. The water will make a cone of evaporation surrounding the plant. Fertilize every two weeks with a balanced houseplant fertilizer during spring, summer and fall. Cut to half strength during the winter.

orchid 4

-Carol Quish


It’s that time of the year again: the Christmas holidays are days away. If you are looking for last-minute gifts for the gardener in your life then here are some ideas, including some new trends.

Herb-growing kits are one of the latest trends in indoor gardening. I always bring an herb planter in at the end of October when it gets too cold at night for it to remain out of doors. It generally does very well in a southwest-facing den window for a few months but the reduced sunlight and cooler nighttime temperatures usually cause it to gradually decline in vigor.

IMG_20181219_133207047_HDR

Unfortunately, the window in my kitchen faces northeast and therefore is the least desirable growing spot in our house. There are many herb growing kits available now that have growing lights built into the units so that if you or your gift recipient also have a kitchen with a window that gets low light (or no window at all), fresh herbs can still be within reach of your culinary efforts.

IMG_20181218_172732064_HDR

There are more than a few lower maintenance herb kits that come in a variety of containers, one of which is sure to fit the décor of any home. Burlap or heavy paper bags come complete with all that is needed to grow flowers and herbs.

The Eggling kits would be a great gift for a young gardener who would really enjoy cracking open the top of the egg to see that it contains everything (except water) that is required to grow herbs, strawberries, or flowers. Colored glass canning jars contain everything from herbs to palm trees!

Another way to grow fresh herbs or micro-greens is a portable water garden that incorporates a fish tank and a plant bed in a unique symbiotic relationship. We gave one of these to our daughter for her birthday in April and have seen the mini-aquaponic system in action. The cut-and-come-again micro-greens that sprout and grow to harvesting size in a week to ten days include radishes, broccoli, arugula, spinach, and wheat grass.

This closed system circulates the water from the fish tank up through the rock garden that sits atop the tank. As this water is rich in fish waste it supplies fertilizer to the plant’s roots. The water that is returned to the fish tank has been cleaned by the plants.

Once the herbs have been grown, whether indoor or out, there are special containers to keep them fresh and assorted culinary tools to prepare them such as a stripper that eases the removal of small leaves from herbs such as rosemary and thyme. A larger variation of the stripper works well with larger-leafed vegetables like kale. A cactus-shaped herb infuser allows any cook to add a bouquet garni to their cooking pot and then easily remove it before serving.

If your gift designee would prefer to adorn their table with flowers rather than grow them then there are plates for every style, from bold orange, green and black tropicals to powder blue backgrounds with delicate cherry blossoms to, my favorite, the high-contrast black and cream Queen Anne’s lace.

And of course, there is the traditional and always welcomed hostess gift of a flowering plant. Poinsettias are not the only way to brighten a home during the winter. Florist’s departments are teeming with an abundance of colorful blooms. Kalanchoe is a succulent houseplant that may be found with white, red, yellow, orange, and fuchsia long-lasting flowers.

IMG_20181218_185855796

Anthurium, with its dark green, heart-shaped leaves and a tall spike of minute flowers that sit above a brightly-colored bract that may be white, pink, or red is a lovely houseplant.

IMG_20181218_185908091

Flowering plants in the Cyclamen species include Cyclamen persicum and C. coum, both of which bloom in the winter and C. repandum which blooms in the spring would be welcome gifts. Cyclamen have beautifully variegated leaves and up-swept flower petals that range from white to soft pink to deep red.

IMG_20181218_185834719

But if you are looking for a flowering plant that comes in a color to match any décor than nothing can top the appeal of the dramatic Phalaenopsis orchid hybrids. As seen in the image below, they are available in a veritable rainbow of colors.

IMG_20181218_185844047

Here’s a  suggestion that may also be a final destination for plant and herb refuse: a kitchen compost bin. Now available in many materials and sizes, these bins make composting easy and may only need to be emptied on a weekly basis, perhaps a bit more often if the household is basically vegetarian like ours is or if there is a coffee-lover filling it with used grounds.

IMG_20181218_173553169

If your gardener is also a coffee lover, then these mugs that reflect the current succulent houseplant trend would receive a warm welcome.

IMG_20181218_173732745

Its not too late to shop for your favorite gardener or, if one or two of these gifts happened to catch your eye, then print this off, circle your choices and leave it where Santa may find it!

Susan Pelton

All images by S. Pelton

geranium_lemon, missouri.edu

Lemon Scented Geranium, photo from Missouri.edu

As cold weather arrives, my garden focus switches to houseplants. I am particularly fond of growing scented geraniums inside the home. They are easy to grow and smell great, releasing aromatic oils into the air when their leaves are gently stroked, refreshing the stale scents of enclosed houses. Houseplants in general are a great way to increase the moisture level of dry, winter-heated air as water is added to their soil, and some moisture will evaporate into the air surrounding the plants.

Scented geraniums are in the genus Pelargonium, the same as the annual geranium with the large red, white or pink ball of a flower head. Even though both of these types of Pelargonium are have the common name of geranium, neither are related to the true perennial geranium (Geranium maculatum), commonly called cranesbill. Pelargonium species are not hardy in areas with cold winters. Scented geraniums can be planted outside and treated as an annual in addition to being a houseplant. They are native to South Africa, and were introduced to Europe in the 17th century by plant collectors as was popular at that time. Scented plants were especially prized in that era of limited sanitation and personal hygiene. Leaves and flowers were used in tussy-mussies to be carried by ladies whom wanted to smell better. The plant flower a smaller pale colored flower, usually pink or lilac depending on the specific variety.

scente geranium, arnold arboretum, historical print

Pelargonium
triste.
From
Canadensium
Plantarum

by J.
P.
Cornut.
P

mosquito_citronella_geranium_pelargonium_Barbara H. Smith, ©2018 HGIC, Clemson Extension.jpg

photo by Barbara H. Smith, ©2018 HGIC, Clemson Extension

Today scented geraniums are prized house plants for a sunny window or greenhouse. Leaves are edible, can be tossed in a salad or used as a garnish without fear of toxicity. Leaves are used as tea, and can be added to baked goods. Lining the bottom of a greased cake with artistically arranged leaves, then gently pouring in the batter creates a pretty and tasty dessert. Add one cup of fresh crushed leaves to simmering apple juice to make into flavored apple jelly following apple jelly recipe on pectin container. Dried leaves can be added to pot pourri and added to muslin sachet bags to place in a drawer. Sachets can also be used in hot baths or a relaxing spa experience.

The flavors or scents of scented geraniums are broken into several groups. The Rose Scented Group contain a number of different varieties with strong, clear rose scents to ones with a softer rose fragrance. Atomic Snowflake has a lemon-rose scent. Another scent group is the Citrus Scented geraniums. Lemon Crispum has a strong lemony fragrance, while Lime smells like a key lime pie. Prince of Orange sports crinkly leaves to emit its orange scent. The Fruit and Spice Group contain plants that smell like ginger, nutmeg apple and even strawberry. These are especially good in baked goods. The Mint Group, true to its name, has different plants with varying grades of minty scents. Peppermint, a peppermint lemon and a pungent peppermint with rose notes are all different. The last group is the Pungent Group with musky, oak, and camphor fragrances. It is best to feel the leaves and smell the plants before deciding to take one home to be sure it is agreeable to your nose and palate.

scented geranium, white flower farm photo

Scented geranium varieties, photo WhiteFlowerFarm.com

Growing requirements for all scented geraniums are fairly easy. They need a sunny south or west window or fluorescent lights, and well drained, light potting mix. Water them when the soil is dry to the touch. If the soil is keep soggy, the roots will rot. Drain any water from the saucer below the pot to avoid over saturation. Temperatures for optimum growth are in the range of 55 to 70 degrees F. Fertilize with a basic houseplant fertilizer every three month. Too much fertilizer leads to weaker growth and less scent production. Prune back the plant if it begins to grow too large, saving the trimmings of course!

Lemon Scented geranium at FS, DPettinelli

Lemon Scented Geranium on display at the flower show. photo by D. Pettinelli.


ringneck pheasant in early springIt has been a very long winter with little sight of spring even though it is the end of March. Normal spring garden chores are difficult to get done as the garden is under snow or still has frozen soil. Although the snow provided a good back drop to see a ring necked pheasant wandering through my yard this past week. They are non-native game birds that are sometimes released for hunting purposes, but flocks rarely survive to create sustained populations, it looks like this male made it through the winter just fine.

Some of my garden perennials were not so lucky this winter. It appears the voles and chipmunks have been busy feeding and tunneling their way through parts of the garden. The moles have created lots of heaved up tunnels in the lawn which sink when step on or tripped over. The heuchera below will need to be dug up and replanted. Fill in any tunnels such as the one on the right. Mouse traps sent in the runs might as a control measure. Cover the trap with an up-side-down bucket to keep out birds and cats.

Antsy gardeners can do much harm to the soil by working the ground if it is frozen or wet. Compaction will result and soil structure will be ruined. Soil structure is the way the soil parts are arranged and adhered together. Soil parts do not stack neatly like Legos or Lincoln Logs. They are non-uniform shapes with needed air spaces in between the particles to provide spaces for oxygen and water to hangout that are necessary for roots to access. Working wet or frozen soil squishes out those spaces, cramming the soil particles tightly together resulting in compaction. Once compacted soil dries, it is like a lump of cement. Plant roots have a very hard time breaking through compacted soil. Lightly rake to remove last year’s foliage, taking care to not damage new emerging shoots can satisfy the need to be outside and work in the garden.

daffodil foliage emerging

Daffodil foliage emerging.

crocus

Crocus

If you do have an area of compacted soil, deep tap-rooted plants are a great natural way to break it up. Plants with deep tap roots are strong and thick, working their way down to access nutrients deeper in the soil. Nutrients are moved through the plant up to the leaves, stems and flowers which will eventually senescence, dropping dead above ground parts on the top of the soil. Those plant parts will decompose leaving their nutrients in the upper range of the soil where weaker rooted plants will be able to reach them. Kind of like a natural rototilling moving soil nutrients. Plants with deep taproots are dandelions, comfrey and horseradish.

dandelion 1

Dandelion helps break up compacted soil.

Rhubarb is the earliest of the three perennial vegetables to awake in the spring. Horseradish follows shortly after, and asparagus takes at least another four weeks to send up shoots. Make each of these areas to avoid damage to their crowns. Better yet have designated beds for each crop. Horseradish can be an aggressive traveler so planting it away from other crops is recommended.

rhubarb emerging 2018

Rhubarb emerging March 30, 2018.

There is still time to remove, crush and kill gypsy moth eggs from tree bark. Hope for a wet spring to develop the fungus that infects the young caterpillars after they hatch from any egg masses which were left.


Gypsy moth egg cases, p.cooper photo.jpg

While cleaning up garden debris, watch for beneficial insect overwintered eggs like the praying mantid’s egg case below. Carefully remove the stem and egg mass to a safe place outside so it can hatch naturally when the weather warms. Do NOT bring it into your home unless you want it to hatch inside your heated house!

praying mantis egg mass

Praying Mantid Egg Case

Another spring chore can be done inside the home. Cut the top six inches off of leggy houseplants to give them a good pruning. Repot any that need it to get them ready for another year of growing. Stick some cuttings in a vase of water to get them to produce roots. Some plants do respond better than others and it is worth a try to produce new, free houseplants to share with friends.

roots in water

Pothos cuttings rooting in water

-Carol Quish


winter landscape January

Frozen lake in January

“Feeling a little blue in January is normal”

  • Marilu Henner

The one thing I like about January is that at least the days are getting a teeny bit longer. We still have the cold weather and probably a bunch of snows will fall, but the nights are shorter and I am fooled into thinking spring will soon be here. While I like to escape into the wilds in the warmer, more colorful months, it can be a more difficult enterprise now. Snows may not allow an easy walk in the woods, but the roads are clear, and they will have to do as a means of checking out the January happenings outdoors.

winter stream

A winter stream and beech trees still holding onto their leaves

Although cold, the air is nice and clean (it seems!) and crisp, providing a refreshing change to an extended existence in an indoor environment. And there is still much to see in the winter. Bird species may not be as abundant, but the ones that are still here provide a nicer experience for me than watching fish in a tank would.

Coot Pamm Cooper photo 2016

Coot sporting its ivory bill

Pileated woodpeckers may be elusive, but they are quite vocal, and so they often give away their location as they gad about in the woods. Water birds are still around- a kingfisher is still finding stuff to eat in areas of open water- and mallards and Canada geese are, too. Coots may be seen in open water near the shore, and merganzers and ruddy ducks can be found in small or large flocks in the coastal areas. And Cooper’s hawks, as well as sharp-shinned hawks, small accipiters that prey on birds, can be seen buzzing bird feeders for easy pickings on a winter’s day.

Coopers hawk in yard Jan 8 2018

Cooper’s hawk waiting near a bird feeder

In my town, there is a large population of black vultures now, which is a remarkable development as just a few years ago avid birders would ‘flock’ to an area where a black vultures was reported to be. During the 1990’s, black vultures were considered very rare visitors to Connecticut, but in the last few years, they are definitely staying year- round and breeding here. You can tell black vultures from turkey vultures in flight by the white bands on wing tips, versus the half silver wing undersides of the turkey vultures.  Up close, the gray faces of black vultures are readily distinguishable from the bald, red faces of turkey vultures. Black vultures will often congregate on chimneys on cold days.

black vulture in 5 degrees

Black vulture on a 5 degree January day

vultures

Turkey vulture spreading wings- black vultures in the foreground

We had very cold weather the last two weeks- down in single digits on a few mornings and not much above the teens the rest of the time. Today, it is raining and fifty two degrees. If warm conditions keep up for a few days, fireflies may come out from their winter hiding spots in bark crevices, Look for them on sunny sides of trees in wooded areas. They will not fly, too logy for that, and will return to their resting places as the weather gets cold again.

fireflies in winter

Fireflies out on a warm winter day

When we have snow cover, that presents an opportunity to check out animal tracks in the snow. Deer tracks require no great hunter-like skills to figure out, but others may be tricky. I get a kick out of mouse tracks- don’t’ know why- maybe because they are one of the few animals that leave a tail print between the footprints.

two mice headed for a tree trunk as seen by their tracks in the snow

Two sets of mice tracks leading to a tree


Two of my favorite native plants that give interest to the monotone winter landscape are the redosier dogwood, Cornus sericea and winterberry, Ilex veticillata. Both plants offer a splash or red to a snowy landscape, and winterberries offer a food source for many birds and some small animals. Winterberry is found in the wild along edges of woods and swamps, and redosier also prefers similar areas in the wild.

red twig dogwood winter color

redosier dogwoods in winter

Even though it is not a native plant, I do love the Norway spruces when they have established mature stands. Red squirrels, at least, also appreciate the seeds that are one of their important food sources in the winter. You may come across piles of the spruce cone scales where the little pissant red squirrels take off the scales to access the seeds inside.

Norway spruce forest in winter 2-27-16

Stand of Norway Spruce in the winter

Indoors, though, it is warm, as well- lit as you may desire, and a better relaxing environment in January. Until the warm weather comes, perhaps an orchid in flower may providing a charming blush of living color, while we wait for nature to do the same.

Pamm Cooper

orchids in January


Every growing season brings a variety of inquiries into the UConn Home & Garden Education office, either by snail mail, email, or in person. This year was no exception and I would like to share some that I found particularly interesting.

As we are entering the Christmas season I will start with an image of a Christmas cactus with raised bumps on its leaves. Although they were the same color as the leaf they had a translucent appearance when viewed with the light from behind. These blisters are edema (oedema)are the result of a disruption in the plant’s water balance that causes the leaf cells to enlarge and plug pores and stomatal openings. Moving the plant to a location with more light and watering only when the soil is dry can control edema.

Edema on Christmas cactus

Christmas cactus with edema symptoms

The cold of winter can cause problems that sometimes aren’t apparent until later in the year. Tree trunks that are exposed to southern light during the winter can suffer from sunscald and frost cracks. Sunshine and warm daytime temperatures can warm a tree enough so that the sap begins to run but the nighttime temps will cause the sap to freeze and expand, weakening the bark and resulting in vertical cracks. Dogwood with sunscald (on left) and willow with frost crack (on right) are among the susceptible species.


There were several incidences of huge populations of black cutworm larvae emerging in the spring including a group that appeared to be taking over a driveway! The Noctuidae moth can lay hundreds of eggs in low-growing plants, weeds, or plant residue.

The wet spring weather that helped to alleviate the drought of the past two years also had an effect on the proliferation of slime molds, those vomitus-looking masses that are entirely innocuous. The dog stinkhorn (Mutinus caninus) is another fungus that made several appearances this year.

Hosta plants exhibited several different symptoms on its foliage this year and the explanations were quite varied, from natural to man-made. The afore-mentioned wet spring and summer or overhead watering systems can cause Hosta to have the large, irregular, water-soaked looking spots with dark borders that may be a sign of anthracnose (the below left and center images). In the image below on the right the insect damage that shows up as holes that have been chewed in foliage may be caused by one of Hosta’s main pests, slugs.

But one of the more enigmatic Hosta problems presented itself as areas of white that appeared randomly on the foliage. Several questions and answers later it was determined that the Hosta in question was very close to a deck that had been power washed with a bleach solution! Yeah, that will definitely give you white spots.

Bleach damage 3

That bleach bath also affected a nearby coleus (below on left). Coleus downy mildew (Peronospora sp.) also likes the cool the cool temperatures and humidity of spring (below on right). The gray-purple angular blotches of this fungal disease were first observed in New York in 2005. Fungicides can be helpful if used early and thoroughly, and overcrowding and overhead watering should be minimized.

The grounds of the residence where my in-laws live have a lot of flowering plants in the landscape and as we walked one evening I noticed that the white roses had spots of red on them. These small, red rings are indicative of Gray mold (Botrytis cinerea), a necrotrophic fungal disease that is also a common problem in grapes called botrytis bunch rot. The disease is a parasitic organism that lives off of the dead plant tissues of its host.

The fungus Gymnosporangium clavipes, cedar-quince rust, on Serviceberry warranted several calls to the center due to its odd appearance. The serviceberry fruit gets heavily covered with the aecia tubes of the rust which will release the aeciospores that infect nearby members of the Juniper family, the alternate host that is needed to complete the cycle of the infection.

Two other samples that came in, goldenrod (below on left) and sunflower (below on right), shared unusual growths of foliage. Sometimes plant aberrations can be the result of a virus (such as rose rosette disease), fungus (such as corn smut fungus), or, like these samples, phytoplasma. Phytoplasma is the result of bacterial parasites in the plant’s phloem tissue and can result in leaf-like structures in place of flowers (phyllody) or the loss of pigment in flower petals that results in green flowers (virescence). Phytoplasma parasites are vectored by insects.

A frequent question revolves around ‘growths’ of a different kind, in particular the white projections that can cover a tomato hornworm. These are the pupal cocoons of the parasitic braconid wasp. The female wasp lays its eggs just under the skin of the hornworm and the newly hatched larvae will literally eat the hornworm to death. As the larvae mature they will chew their way to the outside where they will spin their cocoons along the back and pupate. As the hornworm is effectively a goner at this point they should be left undisturbed so that the next generation of wasps will emerge to continue to help us by naturally controlling this tomato pest.

Tomato hornworm 3

Tomato hornworm with braconid wasp pupal cocoons


Another wasp that was caught in the act was the cicada killer wasp (Sphecius speciosus), a large, solitary, digger wasp. Cicada killers, also called cicada hawks, are so called because they hunt cicadas to provision their nests. It is the female cicada killer that paralyzes the cicada and flies it back to her ground nest. The male cicada killer has no stinger and although its aggressive nature can seem threatening to humans, the male spends most of its time grappling with other males for breeding rights and investigating anything that moves near them.

Cicada killer wasp

A cicada killer wasp paralyzes a cicada


Speaking of noticing what’s going on around you, as my husband was walking past a False indigo (Baptisia australis) in July he heard a strange cracking sound and called it to my attention. The plant in question was outside of a gym on the Hofstra University campus where our son’s powerlifting meet had just ended. As many lifters exited the building amid much music and commotion we stood their staring at the Baptisia, heads tilted in that pose that is more often found on a puzzled dog. The bush was indeed popping and cracking as the dried seed pods split open!


But none of our inquiries approach the level of oddity reported by a retiree in Karlsruh, Germany, who thought that he had found an unexploded bomb in his garden in September. Police officers called to the scene discovered not a bomb but in fact an extra-large zucchini (11 lbs.!) that had been thrown over the garden hedge.

skynews-courgette-germany_4146311

This is not an unexploded ordnance!


I look forward to next year’s growing season with great anticipation!

Susan Pelton

Next Page »